Pages

Tuesday, March 31, 2015

Winter Houses with Kindergarten

I've got some seriously great news....This is my last project post about winter this year. Woohoo! Just in time for Spring!

Now onto the serious stuff.... Is it ever too early to start teaching certain concepts to Kindergarten? That was my big predicament with this one. I knew I wanted to explore structures and buildings with them but was the word and concept of Architecture TOO BIG? I ended saying No! Now while I'm not sure if they will remember the word next year or later on this year, at least it is planted in their little minds :)

I can statements: I can identify shapes & I can talk about architecture

This is one of those projects all over Pinterest that I wanted to try my hands on. Here is just one of many links via Pinterest...

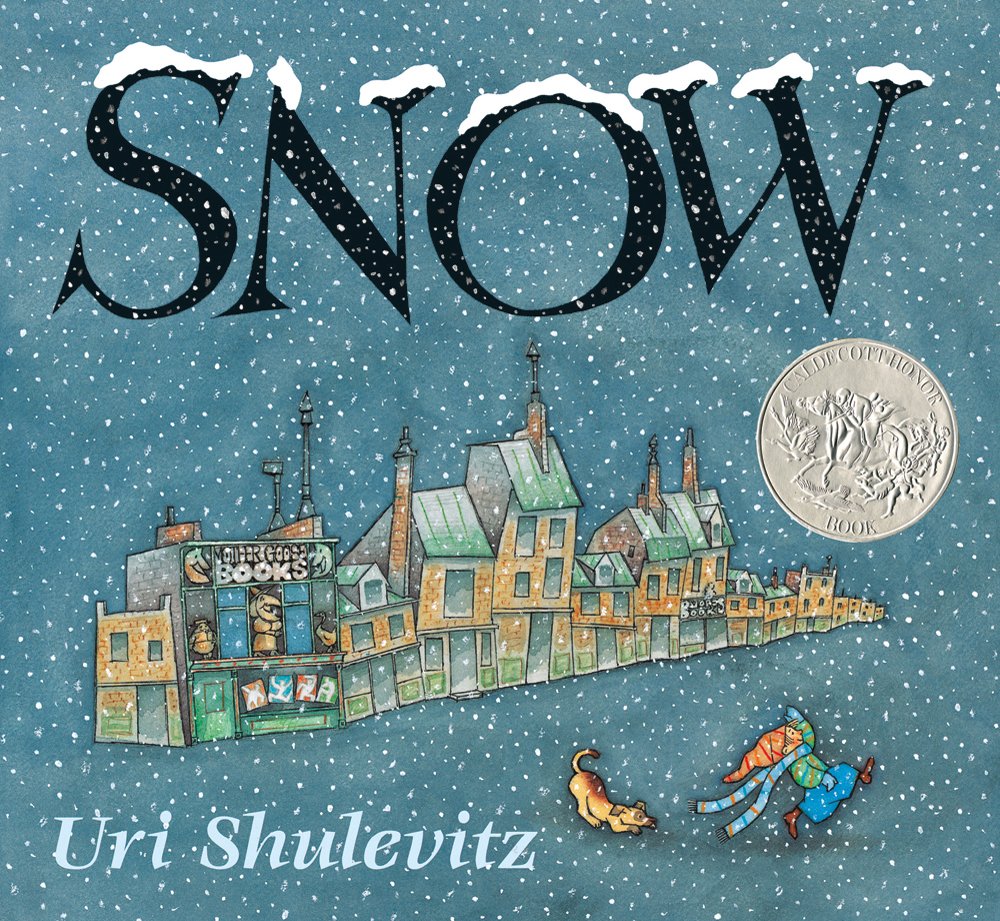
Day 1: Started off with the beautiful story Snow by Uri Shulevitz which happens to be a Caldecott Honor Book. After reading, I turned to a specific illustration of the city and used some questioning strategies to see if they could figure out what architecture was or what an architect did. A few kiddos were actually able to figure it out!


 After a little deeper conversation we watched this YouTube video... I was a little nervous if it was too hard of language but it did a great job with the shapes which was going to be the center of our project.


This project had a lot of prep but it cleaned out my scrap drawer which was a win. I cut a TON of squares, triangles, and rectangles of different sizes and dimensions and had them sorted into boxes. Kinders had to be architects and arrange the pre-cut shapes to create a house or building. I did a demo of my own arranging shapes on the document camera. When they had their shapes laid out into their structure on their paper they had to get a thumbs up from me before they could glue. Once the gluing was done they came over to the snow station where they used a Q-Tip to add snow with white tempera paint.


Day 2: Quite a few remembered what it meant to be an architect and then we talked about counting all the shapes on our buildings. The biggest thing was that even if we covered up part of a shape, like when making a chimney with a rectangle, it was still that shape. They each got one of the papers below and counted and wrote their number shapes. I had them check with another person to see if they counted the same amount before they turned it in. If a kiddo was absent when we did the project they were "the assistants" for counting.


This didn't take more than 10 minutes and then we started our next project which continued on the architecture concept. Stayed tuned for those, you'll love them I promise!

These were displayed with 1st grade's Winter Landscape Windows

Jefferson Elementary....


McDill Elementary....


Monday, March 30, 2015

Winter Landscape Windows with 1st Grade

This was a project from last winter that worked really well visually and interactively so I wanted to do it again this year....


Here is the link to the original, more detailed, lesson with the inspiration source.

I can statement: I can talk about and create a winter landscape

I did switch it up slightly from the original lesson by making it more about landscape than exterior/interior and dropping the worksheet. The only other change was giving a few different options for creating the window frame because some kiddos had a hard time with having to "cover" parts of their artwork. It was good practice for me to listen to my students wants and make appropriate changes. Maybe this is me dipping my baby toe in the choice based pool by letting go! I've got a LONG way to go before I cannon ball in!

We read the book Snow Party to get the lesson going which was filled with beautiful examples of Winter Landscapes and explored some different photographs and illustrations of winter landscapes to talk about the features of a landscape. The rest of the project was the same as the original.


These were displayed with Kindergarten's Winter Houses that I will be sharing soon!

Jefferson Elementary...


McDill Elementary...


"Ms Lapin, It is a snow shoe hare, not a bunny"

Now was the final product the kids made a landscape? I'm still trying to figure that out. In a first grade world I'll say yes. What do you think?

Friday, March 27, 2015

Penguins with 2nd Grade


These penguins have come to be my favorite project teaching thus far. These guys are adorable and so unique even though they all start out the same way.  Plus, I start the project with an e-book of Tacky the Penguin, one of my favorite books of all time. What it comes down to is they make me super happy in the midst of a Wisconsin winter (That's now over!!!!). You can read more about this project from my original post here and links to the original Deep Space Sparkle lesson :)


I can statement: I can experiment and embellish with different materials to make a unique penguin

No changes to the project from last year but I did find more goodies for embellishing and we talked about the phrase "less is more" in the function of the stuff they were adding conversation.

A few were even chosen for my YAM display at the public library!


 My display at McDill is epic. But, unfortunately, I was too afraid to hang them at my other building because artwork has been getting wrecked and these babies are just too tempting for Elementary Schoolers not to touch no matter how many times we talk about not touching art work.

McDill Elementary...


Jefferson Elementary...


Wednesday, March 25, 2015

Kirigami Snowflakes with 6th Grade

Like I mentioned in my 5th grade snowflake fail post....Both 5th and 6th grade just finished up pretty lengthy projects before this, so I wanted to do a little more of a short and sweet/cut and dry project to re-inspire my students who get frustrated with long projects that are a higher skill level. When I saw this project via Pinterest and this post I knew it was the route I wanted to go with my 6th graders...


I Can Statement: I can use Kirigami to create advanced paper snowflakes

Day 1: Started off with an intro to analogous colors, specifically how warm and cool colors are two sets of analogous colors. We also talked about the different moods the colors created. I wanted to get them thinking a little more advanced art classes so we taped our paper to the drawing boards like I did in all my collegiate watercolor classes and the reasoning for doing so. I did a demo of approaching the painting in different ways via a more random approach or patterns and lastly, we talked about the science behind the salt's reaction to the watercolors. All this was essentially to create a background for the snowflakes but great chances for learning opportunities. When they were done with their backgrounds they had the rest of the time to see if they knew how to cut snowflakes and different methods for doing so.

Day 2: Intro to Kirigami and a little history with it. Kirigami is the Japanese art of cutting paper, named from the words "Kiru" (to cut) and "gami" (paper). Its a 17th century art form and considered a true art form in Asian culture. Essentially its Origami but with the key difference cutting and gluing. The 6th were surprised to find out it was originally a wealthy persons art form due to the cost of paper and now it is considered the cheap man's art. I showed them this youtube video I stumbled on and we were all mind blown by it...


Clearly it was what they could work up to if they ended up being freakishly good at cutting paper. I also talked about a paper cut of a horse my sister has and how ridiculously expensive it was but, to consider the work that went into it to make it that cost.

Now when it came time to cut, I wanted these to be awesome, so I did some research and found a really cool way to fold snowflakes and get some incredible results almost every time. I was able to take screen shots and create a packet for my students to look at if they got stuck on their own designs but here is the online version. I wish more would have trusted themselves to do their own designs but they still turned out fabulous...


Day 3: When they were ready to glue their snowflakes down we figured out the best strategy was to use your fingers to spread the glue while your snowflake was on the table, not the art work. Because of the nature of watercolor if enough glue got on the paint it rewetted and got paint on their snowflakes.

 When they were finished they worked together in their choice of groups to created these giant snowflakes to be hung throughout the school with different winter projects. They did these with no instruction from me just instruction packets I put together. I of course stepped in when frustration set in with some groups! You can find the steps basically anywhere if you google giant paper snowflakes. Here is one of many tutorials. 


These are displayed with 5th grades project that you can read more about here.

Jefferson Elementary....


McDill Elementary...