After my second graders finished up this project, they kept busy with this mini drawing project that they took with them at the end of art that day....
The only instruction given was to make a flower come "alive" by making it do a human activity. They could keep them in the ground or in flower pots/vases and were allowed to use circle tracers if they wanted to. There was some excellent collaboration among peers by making their flowers interact with each other. They really got excited about this mini project!
Educator Effectiveness took the education world by storm this year in Wisconsin. After a lot of thought on what to do my Student Learning Objective (SLO) on I came up with doing something project based. I decided to work with my second graders on developing the skill of drawing trees more realistically. Our first project that I used for measuring my goal was this one that we created in the fall. In order to see how their skills improved after re-teaching and student led teaching we did a second project this spring.
I Can Statement: I can draw a tree more realistically and use materials in a different way.
Day 1: I introduced the project by talking about how we were going to do a similar project that we did earlier in the year but change how we use the materials. I was really nervous at this point that they were going to be mad that they were doing another tree but the were VERY excited. My thoughts are because of the method of drawing them that I taught them, they didn't mind. It is very fun and almost everyone is successful (see the first link for an explanation of the method).When it was time to review how to draw them I went out on a limb and had a student show it on the document camera. Man am I glad I did, it was awesome. They started with a quick practice sketch to make sure they remembered the process and then got to work.
Day 2: Before they got to work by continuing to draw and color we talked about the two other materials that we were going to use in different ways. We used watered down tempera paint and a thick dry bristly brush and did some dry brush work for the green of the tree and then for the flowers crumpled up tissue paper. The big reminders were color schemes, less is more, and think about it logically when you are adding the green to the tree. Would there be green on the trunk? In the air?
This part of the project didn't take a whole lot of time so when they finished we did a great one class/take it with you extension project that you can see here!
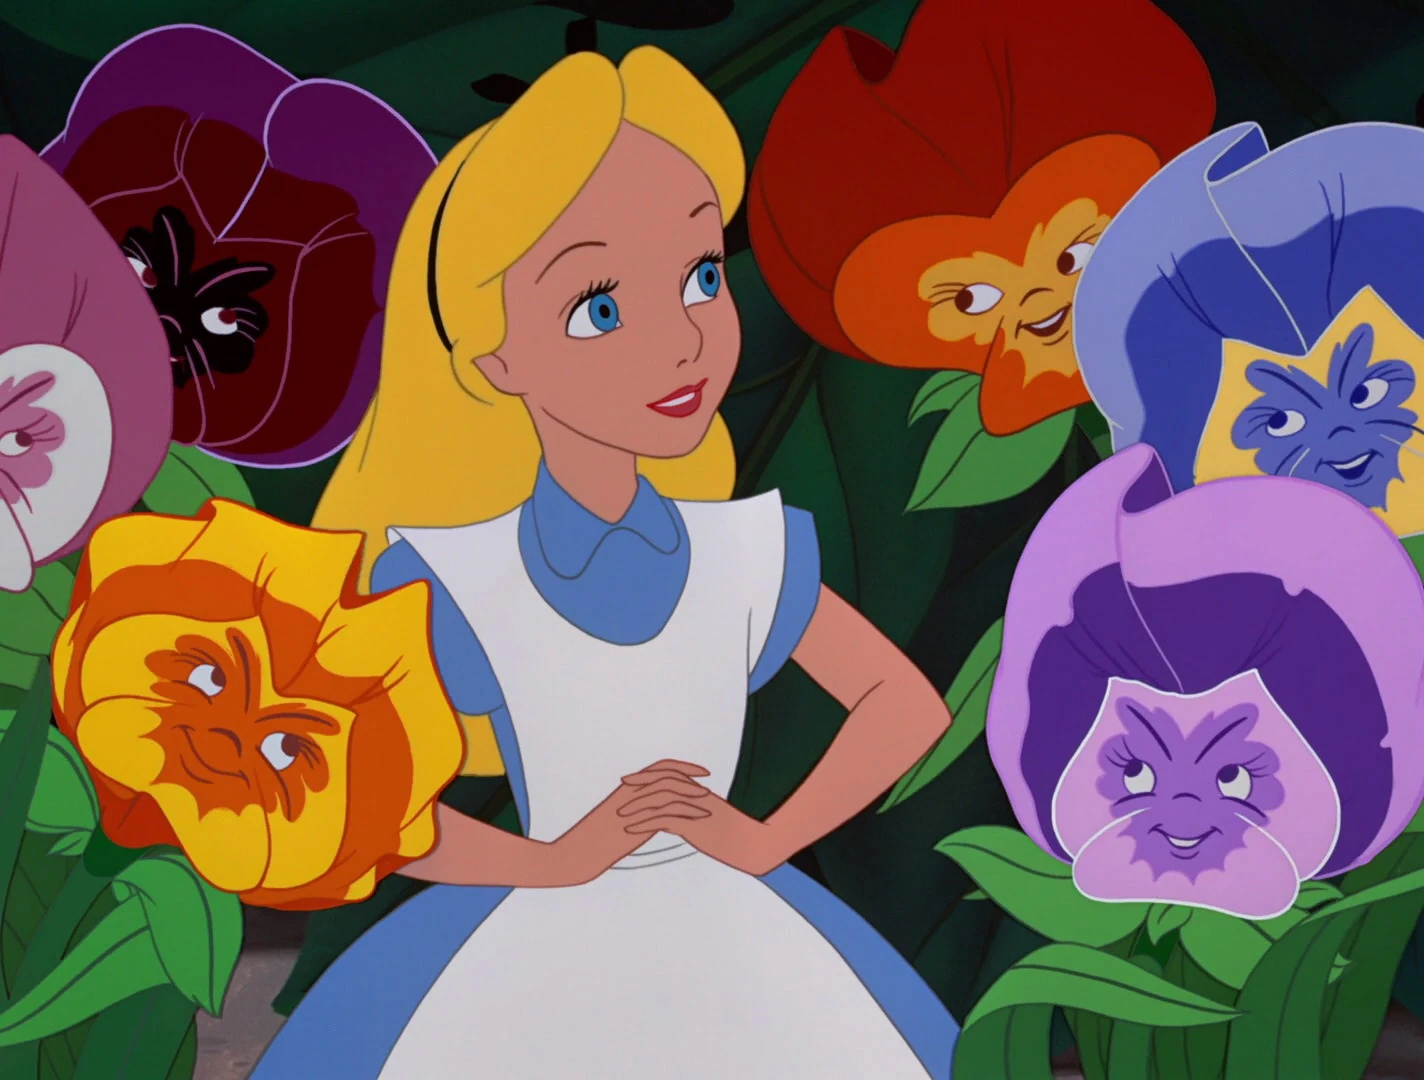
Needed a sub one day last week and this was the lesson I had my sub do with my K-2 students while my older students (3-6) did complete the drawing sheets. Here is the lesson I left for the sub...a brain child/lesson of my own creation, no Pinterest needed! Go me! Maybe a little inspiration from Alice...
Disney's Alice in Wonderland
Expression Flower Faces
Have a discussion about Emotions and Expressions and how what we feel can usually be seen by others because of what our faces look like. Then list 10 or so different emotions and have them act out/show that expression to you. Remind them they should be just SHOWING and not using sound.
HappySadExcitedAngrySuprisedScaredSickSomeone who just got a complimentSomeone who just won a million dollars**Anymore you can think of**
Then for work time hand out a circle tracer to each student and have them trace a circle 4-6 times and draw just a face showing an emotion. Let them know they will be turning these into something so they shouldn’t do anything outside the circles. Show them my example with just the faces.
When the first student finishes you can reveal to them what they are going to be doing with those faces. They will be creating flower people out of them for spring! You can then show them my example with the circles turned into flowers. Feel free to hang it up on the board. Each circle should have petals, stem, leaves, and be interacting with the other flower people and be growing out of either the ground or a flower pot. They can use sharpies for outlining faces and crayons/colored pencils/or markers to color the rest.
My Example
From Kindergarten
From 1st Grade
From 2nd Grade
Big fan of this project, I may have to do it as a real project next year :)
School starts in a week and I'm still blogging about projects from last year! My goal this year is to get them up quicker and not back blog!
This project was one that ended up being different from class to class because we were getting down to the final days of art, some have splatter painted rain while others used torn paper. It just came down to time. If and when I do this project again I will leave it up to them. I'm going to go ahead and predict with confidence that splatter painting will be the favored choice!
From what I remember this project is my own but I'm sure I was influenced by all the awesome umbrella/rain projects on Pinterest....FOUND THE PIN!
I CAN statement for this project: I CAN show my knowledge of the color wheel and mixing primary colors to make secondary colors to paint an umbrella.
Day 1: Intro! Started with my awesome YouTube find I mentioned in the color project post.
We used this as the jumping off point for talking about the color wheel and what goes where and why. I found some awesome stuff on Teachers Pay Teachers to use as tools in this discussion, by far...this one was the best! Great graphics and worksheets! After we chatted I had them fill out a color wheel (provided by my TpT download)...Doesn't it look great, and simple!?
Once their color wheel was approved by me, after they checked with a buddy too, I gave them one of these sheets to work on...
The same TpT packet had these too! And multiple versions! And pages to cut the answers from! SERIOUSLY. AWESOME. Just about everyone finished these activities and spent time finishing other work when done. I worked with kiddos in small groups that weren't quite getting it so they would be ready for part 2 next art class.
Day 2: Review! Started with the video again, pausing when I could for them to answer what was going to happen or what things were called. Then I revealed our project and demonstrated setting up the umbrella and mixing. I had tracers for the umbrella shape and they had to draw in the sections of the umbrella. We talked about how our goal was to get the primaries down first to keep our paint and brushes "clean" then make the secondaries. The "It's rainbow order!" lightbulb clicked pretty fast once painting started.
For those that had an extra class, splatter painting was next! There was quite a bit of time so while they worked on the umbrellas I called groups of 3 or 4 over to splatter. We used a magazine to block out the space for the umbrella where it was keeping us dry!
If they did not have an extra class they got to work collaging a person under the umbrella and tearing paper to make raindrops and other extras. If they got really behind they just did a handle. On their last day of art they quickly drew the sections back in with sharpie and glued the umbrella on with glue stick so they could take it home.
Day 3: For the kiddos that had another day we started collaging and gluing everything together to the splatter painting and it was done before the last day of art so we could enjoy art games together and did not have to scramble to finish things!
Some projects are just so good you have to repeat them...
One of the first projects I ever taught (like STUDENT TEACHING first taught) was this kindergarten ladybug project...my cooperating teacher showed it to me.... It is perfect for spring time and had I done it sooner, would of made one of the cutest displays EVER.
The main objective was to learn about different perspectives and continuing talking about overlapping.
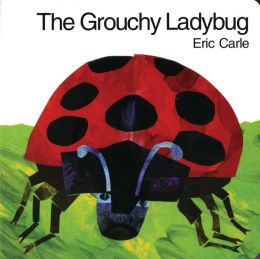
Day 1: Started with probably one of my favorite Eric Carle books of all time. The Grouchy Ladybug. If you have not read it. You do not know what you are missing.
Most Kindergarteners have read this book so reading it to them was hilarious because they would say the "Hey you, wanna fight?" lines for me. ADORBS. So we read the book and talked about how big ladybugs are and how big the world must look to them. Then the fun began! I told them they would not be using scissors until the very end of the project for the ladybugs. We talked about how they had to tear paper to get the grass and that some paper only likes being torn horizontally and some vertically. We also reviewed overlapping and looked at how many layers of grass I had for my ladybugs. Then the tearing was underway! Watching kindergarteners tear paper with meaning and seeing their faces light up is probably my favorite thing about this project, because honestly, I am generally scared of ladybugs and they freak me out.
Once most of the class started gluing I played these really silly YouTube kid song videos about ladybugs and then the songs were stuck in my head for the rest of the year.
You're welcome.
Day 2: Started off with one of the ladybug songs again and some clips of ladybugs close up from this video...skipped the whole mating ladybugs part....
We had some reminders about how big the ladybugs are compared to the grass and I did a demo drawing and showed how to cut the wings to look like they were flying. I had more than enough torn green paper, so if they needed to add more grass they used the community pile. When they were ready to start ladybugs we had pre-cut red squares to use. Sharpie was used to draw them and hiding some ladybugs in the grass was encouraged. Which meant some kiddos had all of theirs hidden...and I thought they didn't do any! :)
All of them finished in 2 days with a little help from others cutting. REALLY wish I could have done a display with these! Only photographed a few but it is a great taste of the project!
The last few projects I have been trying out doing an extension for early finishers (instead of "free art"), it usually fits the theme of the project that we just finished and is a basic drawing/coloring on cheap paper.... 1st grade just finished their variety flower gardens so in keeping with the theme of flowers they did drawings of "flowers" that were objects instead of real flowers. Great ideas came out of this. Potentially a drawing project that I can adapt (like big time) for older kiddos.
At the beginning of the year I sent a letter out to families talking about who I was, my philosophy, and things they could donate. Donations came pouring in pretty consistently after that. I now have more toilet paper rolls than I know what to do with! One of the other items that I got an overload of was cereal boxes. In search of something to do with them I stumbled upon this great project via this post on pinterest. Per usual, I wanted to change it up and and teach a concept with it. A bonus of this project was that they were currently learning about flowers and flower parts in their classroom. Complete coincidence but I loved it! Would love if it happened more on purpose!
I CAN statement: I CAN create a variety of flowers using oil pastels.
Day 1: Started the class talking about variety. What does variety look like? Why would an artist use it? Etc. Then I showed them this image that I stumbled upon while looking for resources for this project. It was a great example of all the different possibilities of flowers including sizes and colors.
After we looked at these I did a demonstration of how to do three different flowers but explained they were not limited to the ones I showed them. For the flowers we were using oil pastels, so in my demonstration I showed them how they could blend colors for the flowers. There was a lot of excitement during that part of the demo :) The only requirement was 10 DIFFERENT flowers so we had the most variety. They did them without pencil and filled a page with them like my example below. Before they started working they had to finish part of their previous project so they were working for the entire class.
Day 2: Showed them the above image once again and asked what variety meant. A lot did not remember the word, but remembered what it meant. Woohoo! We looked closely at my example and talked about constructing the "garden". Flowers should hang off the top and could overlap and each should have a piece of string for the stems. They continued making flowers and after 10 were done they had to cut them out removing all the white space and then assembled them. Cereal boxes were cut into thirds and one side of the box was used so it could stand open. We pre-painted the boxes for students to save time because we were getting close to the end of the year but I would have them paint them themselves on the first day we started.
Make sense now?
Day 3: One more work day was needed for many students so while they were working on finishing they had an extension project of drawing made up object flowers. I will share some images of those images later ;)
One of my 1st grades was a lot more behind than the others and I use YouTube videos as a reward with them so I ended up finding this after we were done with the other classes. Wish I would of found it sooner and shown it to the other classes. SO COOL.
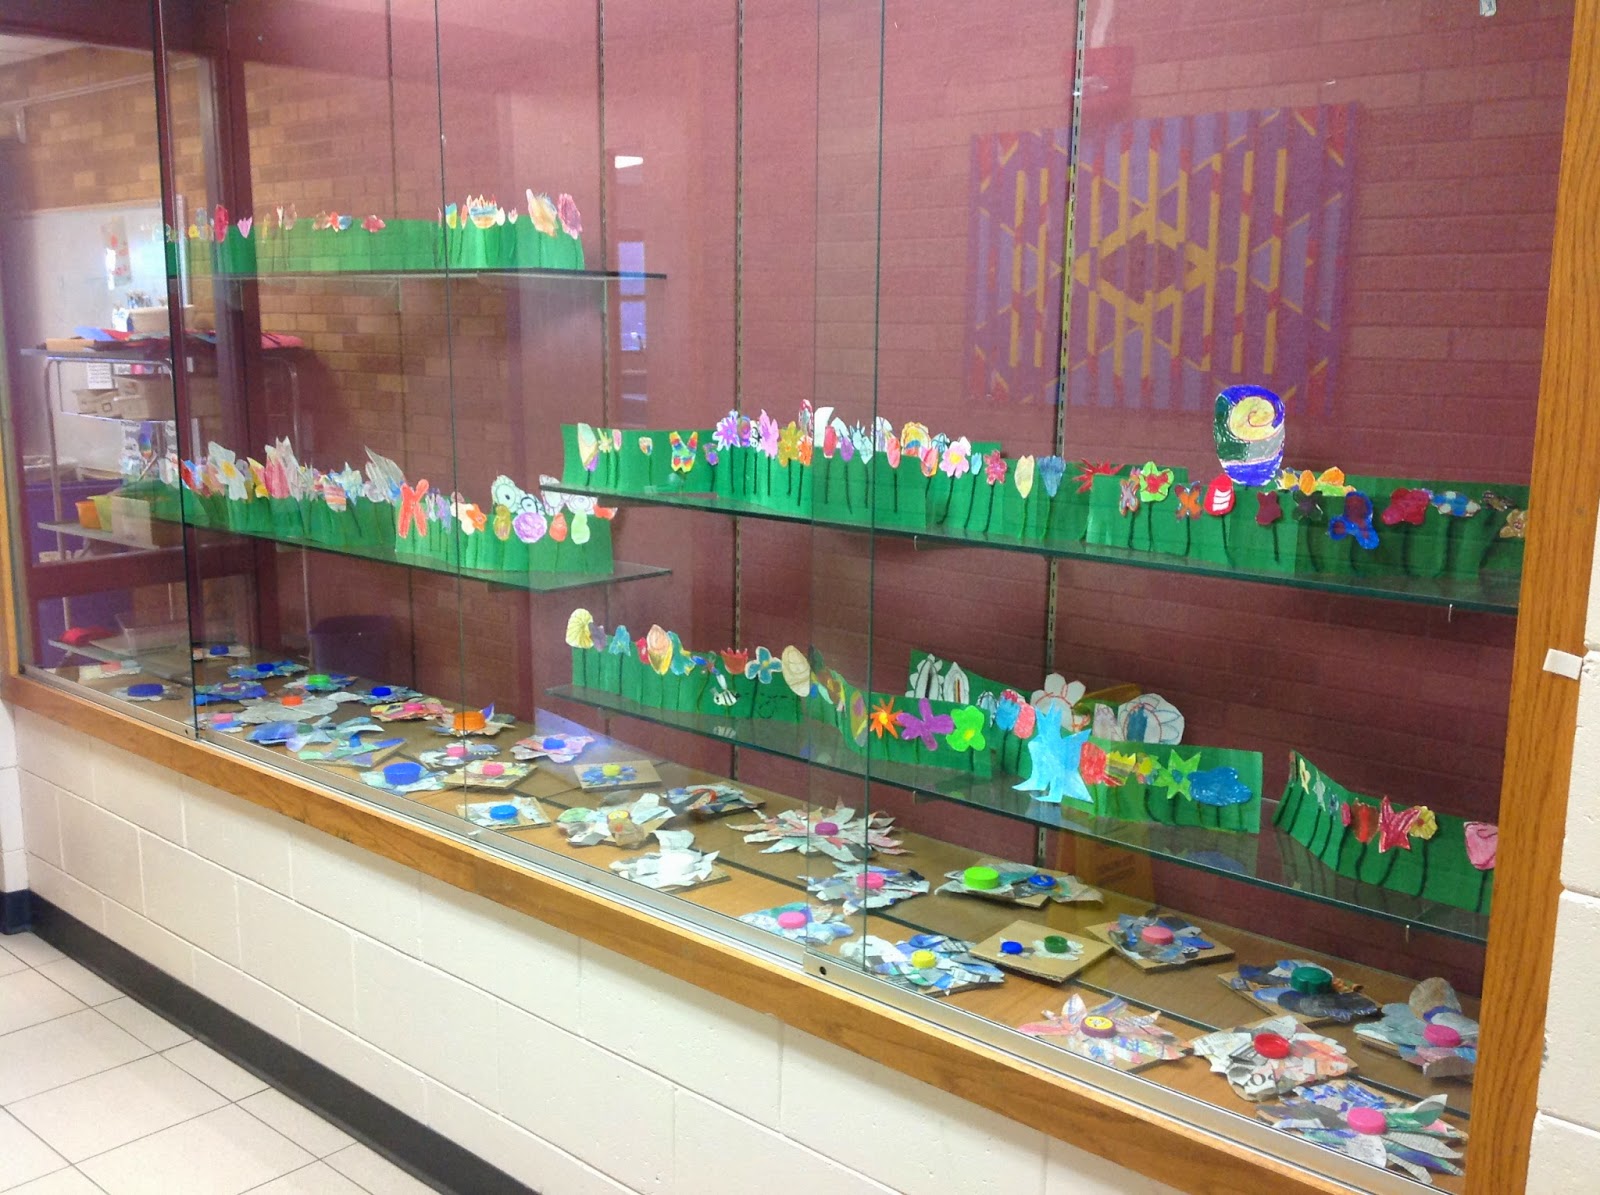
Very happy with how these turned out. If we were not so close to the end of the year and had more time, I would of liked to see a little more time taken drawing the coloring the flowers and I should of done some color concepts for blending but overall it was a success in my book. Also, really fun to display, especially with the Kindergarten Recycled Flowers :)