Pages

Showing posts with label Art History. Show all posts

Thursday, December 31, 2015

O'Keeffe Fall Leaves (2015)

Okay so I'm a little behind posting since we did this in fall....but that is what break is for!
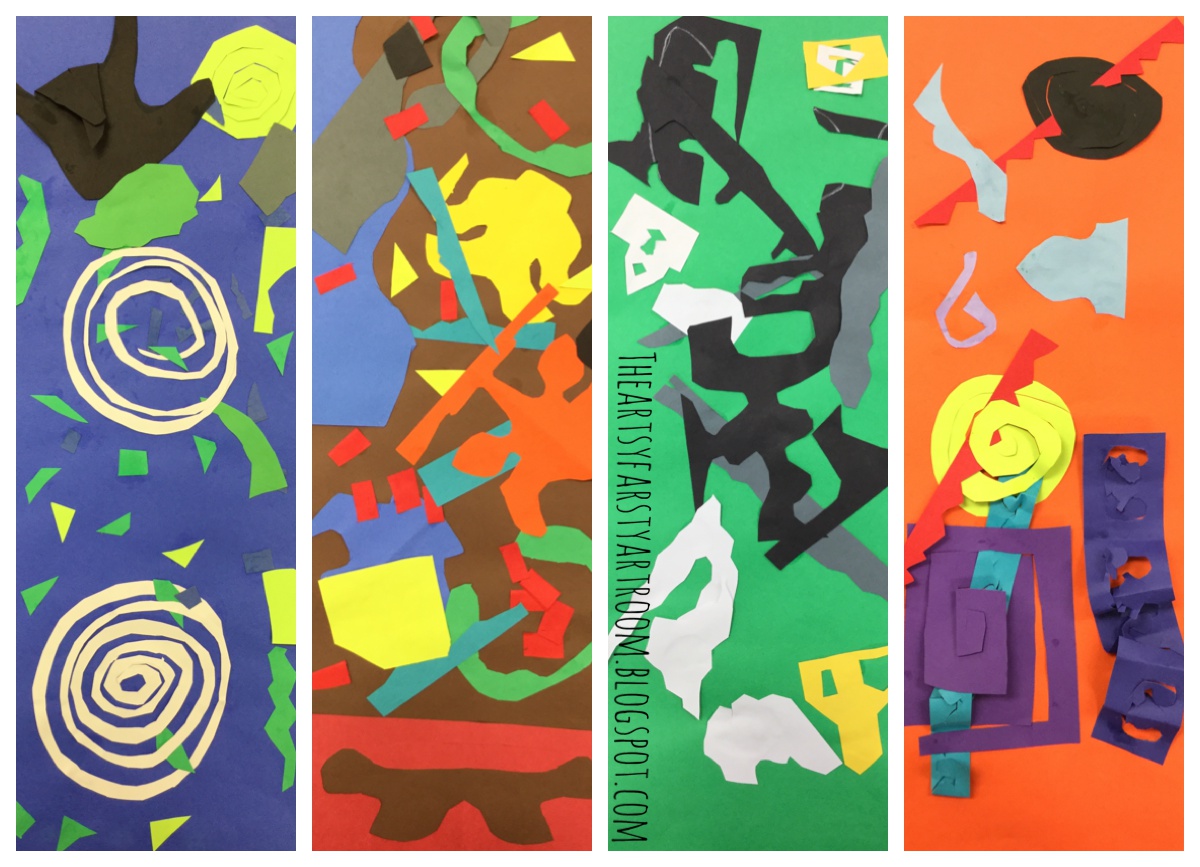
Second grade Elementary Art Curriculum is focused on artists. After we wrapped up Matisse and our paper cut-outs we moved on to Wisconsin's own Georgia O'Keeffe.


This is a repeat project for me and you can find the original lesson here.

I Can Statements: I Can talk about Georgia O'Keeffe. I Can practice drawing many different kinds of leaves. I Can draw my best leaf using the whole back of my paper. I Can add details and an outline to my leaf with my best craftsmanship.

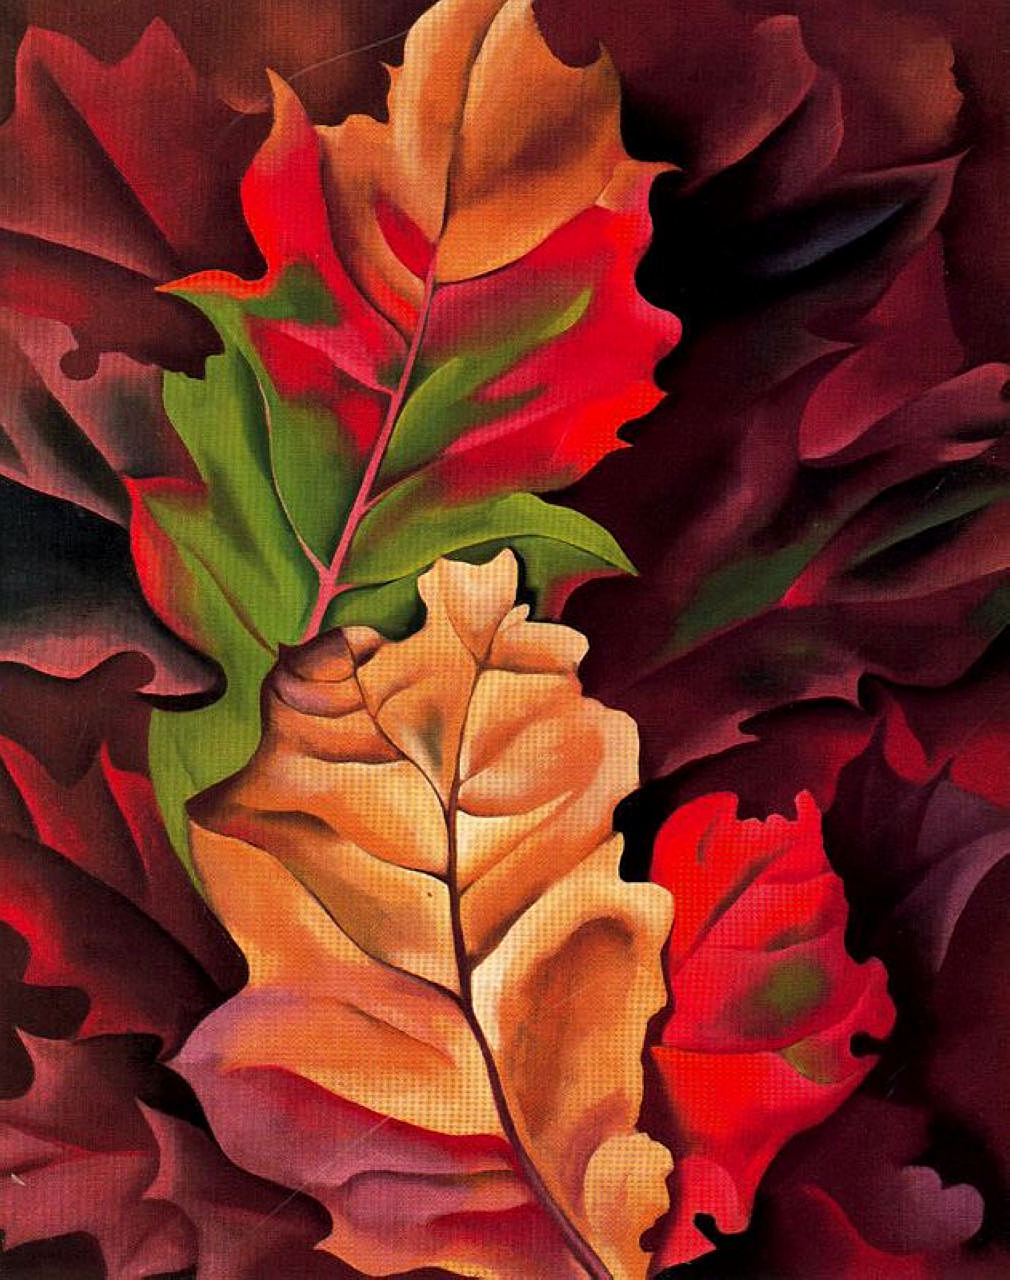
The project is based on one of my FAVORITE O'Keeffe paintings....Autumn Leaves, Lake George


Day 1:
Learning about O'Keeffe and filling out our Artist Book, Talking about fall color schemes, creating painted paper

Day 2: Practicing drawing leaves with the worksheet I made below then drawing the best one on the back of the painted paper they made, adding outline and veins with black tempera paint and flat head brushes
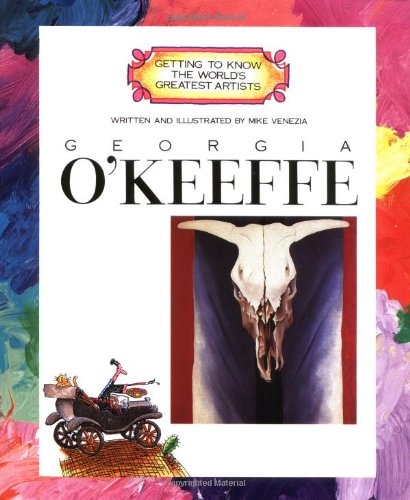
Day 3: Read slightly longer (but awesome) book from the Getting to Know The World's Greatest Artist series: Georgia O'Keeffe then had kiddos that didn't finish last time finish.

Resources I used:

Awesome bio video with her art and stop-motion animations, I read aloud the things that were written.

Getting to Know The World's Greatest Artists: Georiga O'Keeffe


This is a project I will for sure keep repeating throughout the future. The kids love it, it's beautiful, and the display is a favorite of mine!

Sunday, November 15, 2015

Matisse Paper Cut-Outs with 2nd Grade (2015)


In my new district, Elementary Art curriculum for 2nd graders focuses on artists and art history. To kick this year off I started with Matisse. There is just something about all his artwork, from paintings to paper cut-outs, that elementary students enjoy. I think color is a big part of it but his artwork is also almost all positive and when they find out his life story (i.e. the wheelchair) my students get really inspired.

You can see my original post of my first time with this project here.


I did make a few changes including changing the background paper to a color of their choice, not reading/ watching When Pigasso Met Mootise (I'll save that for Picasso), and instead reading them this new book in my collection Henri's Scissors by Jeanette Winter, found here on Amazon.


We still watched this AWESOME video.


And played with this website on the SMART Board.

This is an amazing project for watching students explore and create. I don't give any limitations for cutting, gluing or dimensions as long as the paper color doesn't match and they use the entire paper. Because of this, and the idea that they can literally do nothing wrong, they EXUDE confidence during this project. A great project and feeling to start the year with.


Wednesday, May 27, 2015

Klimt's Tree of Life with 6th Grade

I attempted to give my older students more choice this year by doing more open-ended/prompt-like projects. This project was my first attempt with with my sixth grade students and I am pretty happy with the way it turned out!

My inspiration for this project came from this pin on pinterest via Artsonia and wanting to do an art history piece as well. Eventually my brain took me to Klimt's The Tree of Life.


I Can Statements:
I Can create a “Tree of Life” that reflects my knowledge, intuition, and experiences (WI L.4.1)
I Can: Demonstrate openness in trying new materials in making works of art. (Nat VA:Cr2.1.6a)

Day 1: We looked at Klimt's piece and did some fun fact background info about Klimt and I showed them this awesome article about the Google Doodle in honor of Klmit!


Then we started exploring "Trees of Life" from other cultures and what they meant to other cultures...

After doing some research on my own...I found this really great passage from a group that does...lets call it...spiritual classes...that really summed up my research well that I shared with students...
“The Tree of Life is a universal symbol found in many spiritual and mythological traditions around the world. In various cultures it is known as the Cosmic Tree, the World Tree and the Holy Tree. The Tree of Life symbolizes many things, including wisdom, protection, strength, bounty, beauty, and redemption”
I shared with them examples of all these different types from different cultures and then prompted them with this question... In each culture the Tree of Life or World Tree meant or did something different for it’s people. What would your tree do for you?

Here is a look at our planning sheet..
Day 2:
I did a short check in with each student before they started on their project. We talked about materials choice and how to make the purpose clear. I warned them they would be doing an artist statement so they would have to talk about any decisions they were making during the creation and why they chose the subject matter that they did.

Day 3 & 4: Solid work time!

Day 5 & 6: 
This was their first time doing artist statements so we talked about what they were and the purpose of them and I gave them this planning sheet....
I really loved this artist statement from a sixth grader whom I will really miss!

The biggest (and really only issue) came at the end of the project when some students realized they just created a tree of their hobbies and favorite things rather than a tree with a "purpose". I really loved reading their artist statements and reading how they saw the work they had done and what they were trying to communicate in their work. I could tell so many more were invested in their work than a project that gave them limited choices and strict guidelines. 


Click on this last set of pictures and take a closer look at the one on the left, you will not be disappointed. 
UPDATE!
A great resource was recently brought to my attention... for more information on Klimt and to view more of his works visit Klimt's page at Artsy.net!


Saturday, November 8, 2014

Mondrian Inspired Cubes!

One of the perks of teaching a lesson the first time is that you can use student suggestions and input to make it way better than you intended. I luckily have a great batch of 5th graders that start my rotation out to give me really great input!


I love Mondrian, no matter how boring some people might think his work is, I see such beauty and simplicity in the basic primaries. I just can't resist sharing Mondrian and his work with my students but I do like to mix it up ergo the cubes. I did the project below with my 2nd graders and Mondrian last year.

Day 1: Intro to Mondrian. I give them a little background info about him and then we watch this seriously amazing animation of his work on YouTube.


We look carefully at a few of his works and then I introduce the project by talking about cube vs. square. The rest of the class is spent creating their template for their cube by tracing pre-cut 4x4 squares onto a 1/2 sheet of poster board and following this guide I made them :)


Day 2: Right away when they come in, I show them more SERIOUSLY awesome YouTube videos inspired by Mondrian.

The music isn't great for this one so I usually mute it...


They freak out over this one...


So here is the part where they changed my mind:

Originally on my example I only did traditional Mondrian (square/rectangles/black lines) and they were like "Lets do any geometric shapes or shapes with straight edges only." After pondering a moment I was like "THAT SOUNDS AWESOME" And tada!

Here are a few mid-process ones...


After 3-4 more work days these beautiful cubes were born and held together with tacky glue!

Hints for the cube:
I had pre-cut 6"x12" strips of each primary and 4"x12" black for them to use to limit paper waste.

Put them together last, they don't take up too much space week to week if you wait until the end

Score all of the edges and tabs with a ruler before working on the designs and re score right before putting it together... makes things A LOT easier.

Check out these stunning works! By the way, I was inspired by this everywhere on Pinterest post for this project...

Jefferson Elementary...


McDill Elementary...


Wednesday, October 15, 2014

Drawing with Scissors

Sorry for being MIA! I have been busy getting the year underway with projects and activities! I started the year off with a collaborative hand project and an adventure to the Museum to get us inspired for our first all school theme of Art History inspired projects!


Matisse is probably one of my favorite artists just for his use of color. One of the lessons I remember most from student teaching that my cooperating teacher did was a Matisse paper cutting one. After seeing these beauties on Pinterest via Drip, Drip, Splatter Splash, I knew I had to try my hand at it with 1st and 2nd graders.

I can statements for this project: I can "draw with scissors" like the famous artist Henri Matisse.


Before Project Day 1: 1st grade finished their school museum activity early so we did an all class activity where I gave them some old, terribly faded, paper and challenged them to cut different shapes. I didn't let them keep anything as a way to practice not being invested in your art to the extreme.

The rest is the same for 1st and 2nd grade...
Day 1: Did a little intro about Matisse and watched one my FAVORITE books When Pigasso Met Mootise.


We also had a nice discussion about how Matisse must have felt when he found out he was in a wheelchair for the rest of his life. Pretty awesome when six and seven year olds can connect with humans so innocently...

Then I shared with them what we were going to create and that the only similarity in our art works was going to be the direction of our paper. I showed them how to make a swirl and reminded them how to cut something from the center of their paper. Then the scrap paper boxes went out and they got cutting! No pencil allowed :) They got a large manila envelope to keep their pieces in for next time.

Day 2: Did a small review about Matisse then watched another AMAZING YouTube find! Apparently this series is Italian (I think!) and only a few have been translated including van Gogh and Pollock. Which is a shame! They are a great resource and perfect language for elementary!


After the video I did a demonstration about composition with pieces I had cut. We talked about three main things...not too much of one color by each other, connecting pieces to others, and not piling them all on. They had to arrange everything before they could glue. Some kiddos in the first class used glue stick (even though I advised against it) and their projects fell apart so glue sticks were put away for the other classes!

Really love these, and my kiddos who really struggle with drawing and coloring were really successful and I could see the love of art back in their eyes!

McDill Elementary...


These two contrast each other so well :)


Jefferson Elementary...