Pages

Showing posts with label Printing. Show all posts

Monday, October 2, 2017

Building Prints

This was a project that I did with my 4th graders at the end of the year last year for something quick, fun, engaging and collaborative.

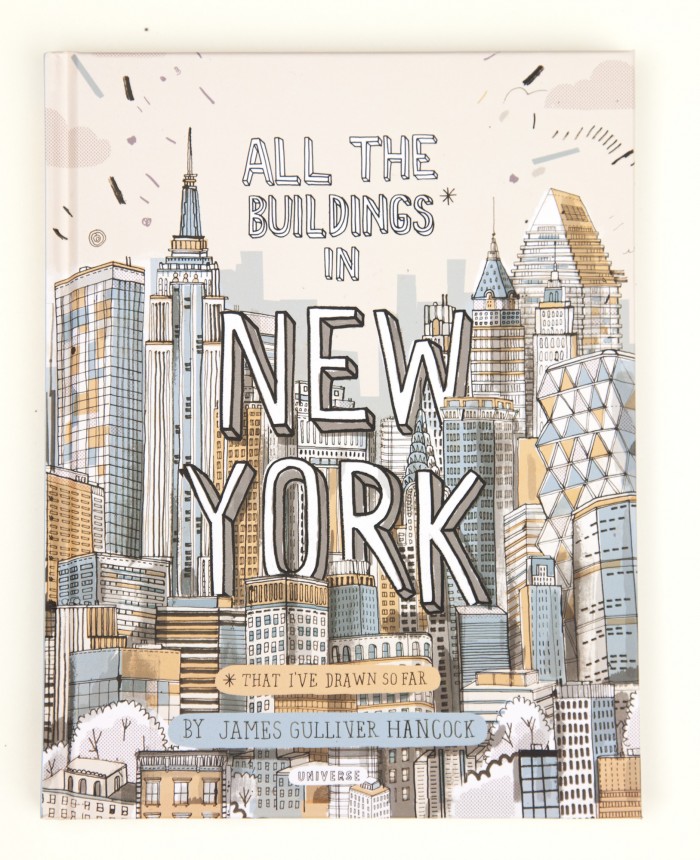
This project was inspired by contemporary illustrator James Gulliver Hancock and his book All The Buildings In New York that was lent to me by one of my Elementary Art team memebers. 

jgh_allthebuildings_book_7
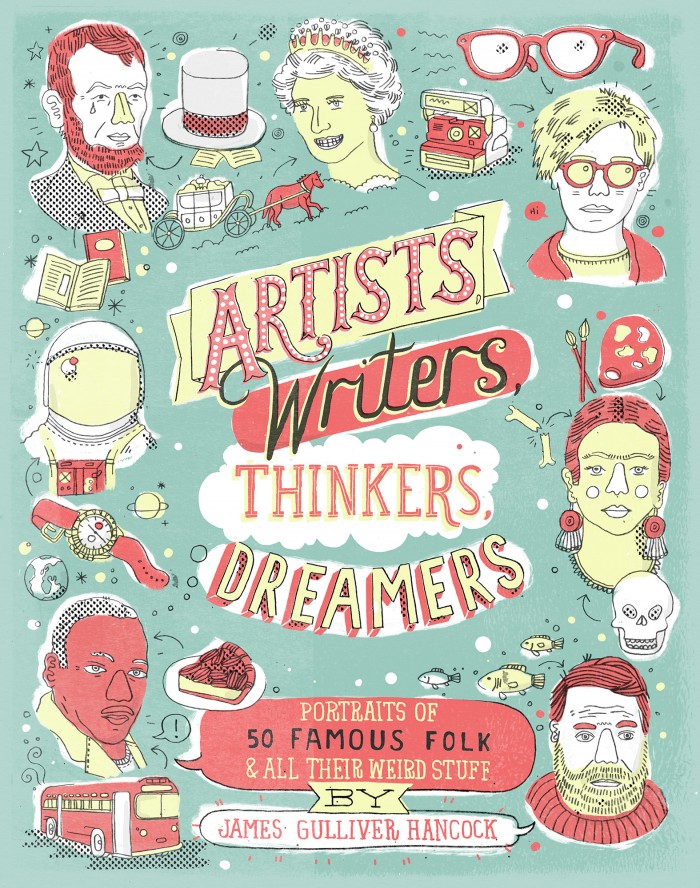
Take a minute to explore his website. He is incredibly talented and does a large variety of work. I scrolled through a bit of his work with students and they loved it. I ended up buying another book of his which isn't appropriate for young students but is seriously amazing called Artists, Writers, Thinkers, Dreamers: Portraits of 50 Famous Folk & All Their Weird Stuff and I fell in love with it. You can get both books on Amazon.
ArtistsWritersThinkers_CASE_1G.indd

So here is how the project went down, and it went fast and quick because it was their last 4 art classes of the year.
I Can illustrate a building and print it to be a part of a collaborative installation art work.
Day 1:
First we looked at crazy architecture with this video:
Then, looked at his website and listened to illustrator James Gulliver Hancock:

All the Buildings in Melbourne from James Gulliver Hancock on Vimeo.

They had to finish drawing a building that filled most of a 6X9 piece of paper, without too much detail (because it won't print), and had to remember to flip any words like a stamp. I encouraged drawing directly with pen like our inspiration but didn't require it.
IMG_1668.JPG
Day 2:
A quick demo of transferring to a printing plate that was cut the same size as their paper (6x9) and then they had the rest of the time to complete it so they could print next class. I just use the generic packs of foam printing sheets from School Specialty and cut them down to smaller sizes. We taped a hinge to keep drawings lined up when transferring. They traced once over/on the paper to get the initial lines then flipped up the paper and did it again to make it deeper with a dull pencil.
IMG_1680.JPG
Day 3:
Printing! A quick demo of printing from the plates and then they had to find a printing buddy to work with and to assist. I cut sheets of every color construction paper I had, black and white tempera paint, and brayers for students to use. They had to print until they had AT LEAST 3 good prints, but could keep printing the entire time if they wanted. 
File_000.jpeg
Day 4: 
We passed out prints, filled out the rubric and handed in the print that they wanted up in the the farewell 4th grade village and in artsonia. If they finished that, they could trade prints with friends and make mini villages. They took extra prints and mini villages with because it was the last day of art for most!


A lot of success across the board in each step so I will likely be doing some version of this again in the future!

Tuesday, January 27, 2015

Radial Symmetry Junk & Snowflakes

Now that I have repeated a few projects since I have started teaching it is easy to see what goes right and what goes wrong. While my 4th graders last year loved this project, I felt like the concept of radial symmetry didn't really stick so I wanted to do things differently the second time around. Here is what I originally pinned on Pinterest and here is my original post of this project.


I can statement: I can use radial symmetry when printing a snowflake with found objects.

Day 1: We started off with a discussion about radial symmetry and where it is found. We explored the below PDF and talked about some being real radial symmetry and others not, as well as, from nature vs mathematically exact radial symmetry..they also shared other examples they knew of personally...


After our discussion I introduced them to my giant bucket of junk and how we were going to make temporary radial symmetry art with this junk before printing snowflakes with different junk next class. They had a freakin' blast! Lots of questions about where my junk came from/why I had so much and I told them that most art teachers are magnets for junk. These are just a glimpse at the awesomeness of it all...


I truly believe it was this group activity that made them so much more successful this year than the previous and really ingrained in them what radial symmetry is and looks like up close and personal.

Day 2: Before I demoed printing and they got started, we had a little review of radial symmetry and I showed them these images from Russian Photographer Alexey Kljatov.


These photographs are an amazing insight into how insanely complicated and beautiful snowflakes are and I wanted it to inspire them to work a little more outside the box. After they finished one snowflake, they chose glitter to go over the wet paint. Some of them were so into it they did 3 or more snowflakes :) Check out these beauties hung with the ever-adorable snowman Kinderbeaners made that I'll share later...

McDill Elementary...


Jefferson Elementary...


Saturday, June 28, 2014

Portrait Monoprints and Zentangles? with 5th Grade


I really love mono-prints. They are probably my favorite thing to do in the realm of printing so I ended up doing portrait mono-prints with my 5th graders as part of my all school portrait theme. Glad I went with 5th grade because the quality of some of the prints turned out quite beautiful and I don't think that would of happened in lower grades!


After stumbling upon so many Pinterest projects and hearing about Zentangles from my colleagues, I had to give it a try once this year. I decided to incorporate it into this project as the boarder of the mounted print. Turns out, didn't work so hot on this project! I think it was too simple of a space and not the right kind of space to do it in. (I'm still learning about Zentangles too!) Still really love the printing part of this project, so did the students, and I will think of something different for the background/boarder for next year.

I CAN statements for the Zentangle portion:
WE CAN think of and create examples of as many Zentangle designs as possible
I CAN create a boarder for my mono-print portrait using Zentagles

I CAN statement for prints:
I CAN create a self-portrait mono-print using warm or cool colors

Day 1: Started by showing them what our final product would look like and then told them we were going to focus on the Zentangle boarder portion of it first and do the prints next time. I gave them some background knowledge of Zentangles and how they started, as well as the popularity of them. I also showed them a few examples of artwork created with Zentangles. We talked about the qualities in the lines and different characteristics of the designs and I gave them a stack of post-its and ultra-fine tip sharpie and let them loose to think of as many designs as they could for a foundation to start the project with. As they completed them they stuck them to a cabinet in the classroom to serve as our "bank" of designs for reference when starting the boarders.


After about 15 minutes they were allowed to start on the project or continue with post-its. I encouraged them not to use a ruler for measuring the boarder to keep designs looking more natural and explained that when they attached the print it would square off the designs. This REALLY stressed out some kiddos but we worked through it and/or they ultimately used a ruler.While they were working, we took a picture of each student to use for the mono-prints. Before the next class we printed the pictures of the kids in black and white full page to use under the printing plastic as the guide for prints.

Day 2: I had the word mono-print written on the board and we dissected the word and using the background knowledge of looking at my example, I had them figure out how it was created and what a mono-print was. After a good discussion we watched my demo. Now this is absolutely my favorite thing I did for this project... The day the first class was going to print, I had my assistant take a video of me, before school, using my iPad, creating the print without either of us talking. THEN when it came time to demo we watched the video as a class and while watching I explained what I was doing and went through it two times because I did a warm and cool color print. This went AWESOME. I think this worked SO WELL because I do not have a great spot to demo things so usually people can't see or they don't pay attention and talk... I will for sure be using this concept of recording my demos again in the future.

When it was time to print, they printed in small groups with me while others worked on their boarders and there was almost zero questions about the process. They slid their picture under a plastic sheet and painted over it with tempera paint (not watered down) quickly without washing the brushes in between colors (i.e. why warm and cool color sets were used). They did two prints so they could chose their strongest for their final product.

Day 3: Small review on mono-prints, re-watched demo for those who had to print this day, and then finished up printing. Almost all classes finished in 1 or 2 days. When prints were dry and boarder complete, they used a glue stick to attach the print they liked better to the boarder paper.

Pretty amazed how much some of these look just like them!


For one of my classes we were working on this right up to the last days of school...the last day of Art got a little silly and a student used their extra print and a silly project they did with a sub to make this ridiculously awesome artwork. LOVE.


I'm curious, how do you use Zentangles? Was I even in the right ball park?