Pages

Showing posts with label Winter. Show all posts

Monday, April 11, 2016

Texture Polar Bears (2015)

3rd grade took a break this winter from their official world travels, to travel to the North Pole to make these texture polar bears...inspiration came from Pinterest via this post.

I Can tell you the different between visual and real texture.
I Can create a polar bear with multiple textures.

Day 1: I did a fun project reveal using this video...
We kicked off the creating with a demo on creating the polar bear with a sponge. They went right for it without drawing first. Then I had an awesome station set up with protective paper on the walls and a cart and they took a spray bottle with watered down paint and went nuts to make the rest of the background.

 Day 2: This is when we really dived in and talked about texture. I had a variety of examples of real versus imagined and flipped through images and held objects and they had to shout out what kind of texture they saw. After, we explored how we were going to incorporate texture into the polar bears using a variety of materials. Before they started to add things, they drew faces with black crayon and I walked them through creating paper patterns using newsprint. This was the best strategy I had for less waste of felt and fabric. They set a piece of newsprint over their polar bear so they could see through it, and drew what they wanted to add. Those pieces got cut out and were traced on the felt so they had the perfect sizes. It was also a great way to talk about the process of fashion design and clothing making.
Day 3: Reviewed texture and the continued to add to their polar bears. They also added snowflakes with either glitter and glue or paper snowflakes.
I am in love with all the different personalities of the polar bears. Thinking of mixing it up next time with a variety of animals to choose from...

Saturday, April 9, 2016

Adaptive Art Winter Art!

Well we got snow yesterday in Wisconsin, so precipitation speaking it is still winter. If it makes you feel better we actually made these throughout December and January....

 My high school adaptive art students vary quite a bit in ability and all ended up being successful with these projects...

Trees: This project I did with my Kinders and 1st graders and you can read about it here.

Mittens: Using a tracer they drew the mittens and then cut tissue paper and collaged it on with watered down glue. The backgrounds were painted paper with a finishing touch of white sponge painting.
They LOVED making these snowmen. We made the balls with newspaper and masking tape then attached popsicle sticks on the bottoms so they wouldn't topple over. For paper mache we used newspaper strips and only the best supply ever for paper mache...Elmer's Paper Mache Art Paste!
Elmer's Non-Toxic Washable Art Paste, 2 oz
I only see these students for about 40 mins 3 times a week so we took 2 classes for paper mache, one for painting, and part of one for making them into real snowmen with buttons and other embellishments.

Monday, April 4, 2016

Winter Forests with K & 1 (2015)

With winter hopefully over here in Wisconsin (you just never know!) it is about time I share the winter inspired projects I did with my kiddos...

This project was inspired by this post via pinterest which was pretty minimal so I look things into my own hands!

I Can statement: I can tell you what a landscape is. I can show trees up close and far away using size and placement.

Day 1: Texture review, creating painted paper

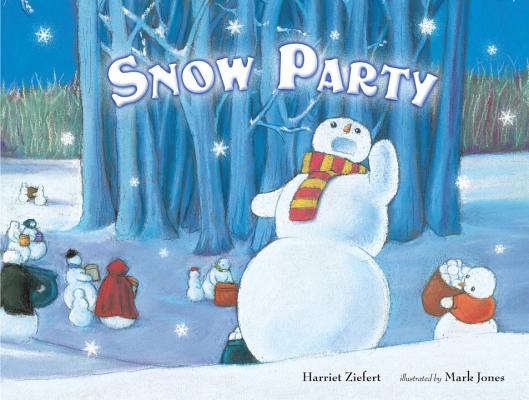
We kicked off the day reading Snow Party by Harriet Ziefert and then reviewed what texture was. I also started to introduce landscapes.


After our book and our chat they got busy making 12x18 pieces of green painted paper with lots of tree textures.

Day 2: Talking about landscapes, Painting the background

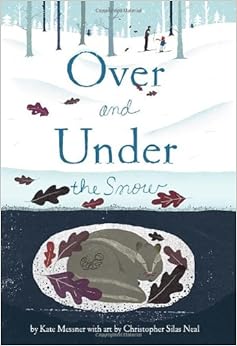
We read another BEAUTIFUL book called Over and Under the Snow by Kate Messner and then talked more about landscapes and what made something a landscape. Then they started creating a background for their forest.


I had them use a white crayon to draw their horizon line and then they sponge painted the snow with white tempera paint on a dark blue piece of 12x18 construction paper. When they finished the ground, I had a station set up to splatter paint the snow in the sky. If they were goofing around or getting paint on their faces on purpose during the splatter painting they were cut off. I used watered down tempera and big #12 watercolor brushes for the splatter. I use the technique where you get the brush nice and sloppy wet and hold it with one hand and then tap it with your other hand over the paper.

Day 3: Learning about size and placement, activity, and adding trees!

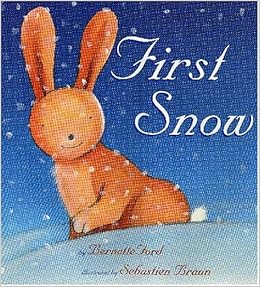
We read the book First Snow by Bernette Ford.


Then using the book I asked questions about why the trees were big or small in the illustrations and they gave me examples of where they see the same concept in their lives. To better understand the concept, and prepare them to add their trees to their artwork, I created a document in SMART Notebook for my SMART Board with a background very much like their paintings and variety of sized trees. They look turns coming up and placing the trees from biggest in the front to smallest on the top of the hill/horizon line. 


I 100% feel this activity helped solidify the concept and allowed for so many to be successful.

They got back their painted paper cut in 1/2 (so I have extra!) to create their trees from. They had to draw at least 3 tree triangles that were different sizes on the back. Then, they cut them out and glued them to their backgrounds to be biggest closest to smallest furthest away. They were also given strips of brown to be their tree trunks. It was fun to challenge them to make the biggest and smallest tree in their class! 

I also did this project with my Adaptive Art high schools students and it was really successful with them too!

Tuesday, March 31, 2015

Winter Houses with Kindergarten

I've got some seriously great news....This is my last project post about winter this year. Woohoo! Just in time for Spring!

Now onto the serious stuff.... Is it ever too early to start teaching certain concepts to Kindergarten? That was my big predicament with this one. I knew I wanted to explore structures and buildings with them but was the word and concept of Architecture TOO BIG? I ended saying No! Now while I'm not sure if they will remember the word next year or later on this year, at least it is planted in their little minds :)

I can statements: I can identify shapes & I can talk about architecture

This is one of those projects all over Pinterest that I wanted to try my hands on. Here is just one of many links via Pinterest...

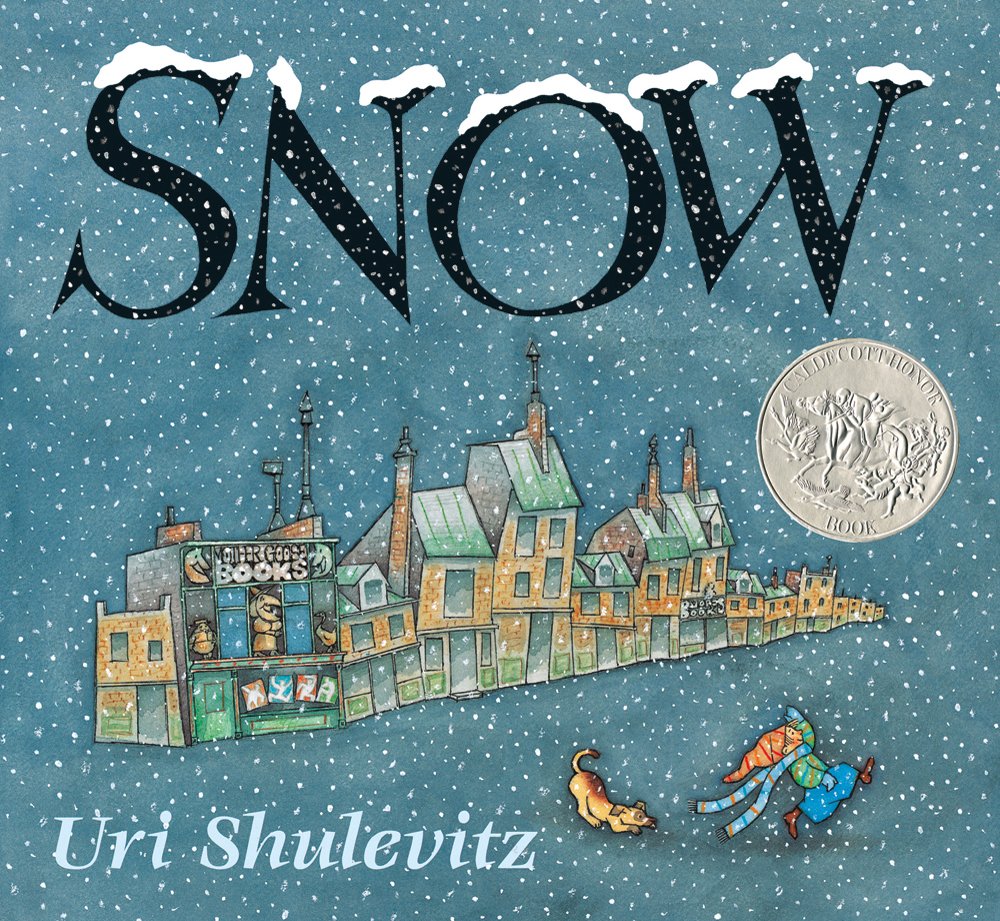
Day 1: Started off with the beautiful story Snow by Uri Shulevitz which happens to be a Caldecott Honor Book. After reading, I turned to a specific illustration of the city and used some questioning strategies to see if they could figure out what architecture was or what an architect did. A few kiddos were actually able to figure it out!


 After a little deeper conversation we watched this YouTube video... I was a little nervous if it was too hard of language but it did a great job with the shapes which was going to be the center of our project.


This project had a lot of prep but it cleaned out my scrap drawer which was a win. I cut a TON of squares, triangles, and rectangles of different sizes and dimensions and had them sorted into boxes. Kinders had to be architects and arrange the pre-cut shapes to create a house or building. I did a demo of my own arranging shapes on the document camera. When they had their shapes laid out into their structure on their paper they had to get a thumbs up from me before they could glue. Once the gluing was done they came over to the snow station where they used a Q-Tip to add snow with white tempera paint.


Day 2: Quite a few remembered what it meant to be an architect and then we talked about counting all the shapes on our buildings. The biggest thing was that even if we covered up part of a shape, like when making a chimney with a rectangle, it was still that shape. They each got one of the papers below and counted and wrote their number shapes. I had them check with another person to see if they counted the same amount before they turned it in. If a kiddo was absent when we did the project they were "the assistants" for counting.


This didn't take more than 10 minutes and then we started our next project which continued on the architecture concept. Stayed tuned for those, you'll love them I promise!

These were displayed with 1st grade's Winter Landscape Windows

Jefferson Elementary....


McDill Elementary....


Monday, March 30, 2015

Winter Landscape Windows with 1st Grade

This was a project from last winter that worked really well visually and interactively so I wanted to do it again this year....


Here is the link to the original, more detailed, lesson with the inspiration source.

I can statement: I can talk about and create a winter landscape

I did switch it up slightly from the original lesson by making it more about landscape than exterior/interior and dropping the worksheet. The only other change was giving a few different options for creating the window frame because some kiddos had a hard time with having to "cover" parts of their artwork. It was good practice for me to listen to my students wants and make appropriate changes. Maybe this is me dipping my baby toe in the choice based pool by letting go! I've got a LONG way to go before I cannon ball in!

We read the book Snow Party to get the lesson going which was filled with beautiful examples of Winter Landscapes and explored some different photographs and illustrations of winter landscapes to talk about the features of a landscape. The rest of the project was the same as the original.


These were displayed with Kindergarten's Winter Houses that I will be sharing soon!

Jefferson Elementary...


McDill Elementary...


"Ms Lapin, It is a snow shoe hare, not a bunny"

Now was the final product the kids made a landscape? I'm still trying to figure that out. In a first grade world I'll say yes. What do you think?

Friday, March 27, 2015

Penguins with 2nd Grade


These penguins have come to be my favorite project teaching thus far. These guys are adorable and so unique even though they all start out the same way.  Plus, I start the project with an e-book of Tacky the Penguin, one of my favorite books of all time. What it comes down to is they make me super happy in the midst of a Wisconsin winter (That's now over!!!!). You can read more about this project from my original post here and links to the original Deep Space Sparkle lesson :)


I can statement: I can experiment and embellish with different materials to make a unique penguin

No changes to the project from last year but I did find more goodies for embellishing and we talked about the phrase "less is more" in the function of the stuff they were adding conversation.

A few were even chosen for my YAM display at the public library!


 My display at McDill is epic. But, unfortunately, I was too afraid to hang them at my other building because artwork has been getting wrecked and these babies are just too tempting for Elementary Schoolers not to touch no matter how many times we talk about not touching art work.

McDill Elementary...


Jefferson Elementary...