Pages

Monday, February 9, 2015

Collaborative Continuous Line & Shapes

As mentioned in my post about the project "Ish" I did with my 2nd and 3rd graders. I attempted to do a collaborative project with another Elementary Art Teacher in the district and it totally failed. We had it all planned out but when you only see a group once every 6 days plus the weekend...It is hard to make sure everyone did one and get all the art where it needs to go. BUT! I made it work. Instead of collaborating with another school we just went across classrooms and another grade level. The inspiration came from Pinterest that originated over at Splish Splash Splatter!


I Can Statements:
I can use continuous line to start a collaborative project
I can identify geometric and organic shapes and use them in a collaborative work
I can use tints and shades to color in organic and geometric shapes

Day 1: Started off by showing some amazing art work of all different subject matter and had them try to figure out what they all had in common. Eventually, one kiddo in every class had the light bulb come on and figured it out that they were all created with one continuous line!
 
To start work time I showed them a video demo of me using a sharpie to fill a paper with one continuous line that was crazy but not crazy enough that it looked like scribbles. (P.s. If you do video demos, fast forward through parts, they think its hilarious!) Then they got busy creating their own. At this point we would have traded with the other school for them to add the shapes and potentially color as well so I did the "Ish" project as something to do during that exchanged time. It was during this class that we started the "Ish" project with the Tumble Book and planning sheet.


Day 2: "Ish" Project! This is where we would have done work on the other schools projects but FAIL.


Day 3: Shape time! Started with a slideshow about organic vs. geometric shapes that had some pretty neat animations of the shapes and objects transforming. Once that discussion was over we did a fun activity where I gave each student a different shape that was cut out of construction paper and laminated. They had to move to different places in the room depending on the kind of shape they had. After this activity they each took turns coming up to the board to draw a shape and choosing another classmate to guess geometric or organic. After all this excitement they got someone else's continuous line artwork and had to trace two of one kind of shape and one of the other. My not so great listeners added more shapes but stuff happens! A little art making, a lot of learning this day.

Day 4: Coloring! Started off the class looking at this Tints and Shades page of this awesome PDF I got on TpT via Brownie Points (Nicole Brown).


We talked about how when someone traced a big shape over the top of their continuous line it became a bunch of little shapes. And each big shape was one color broken into tints are shades inside those little shapes. The only demo was showing how I could get three colors/values with just one pencil. Some 2nd graders struggled with coloring but all in all there was success.

Day 5: Because of the intricacies in a lot of these we needed a second day to color these and finish up "Ish" and other projects.

McDill...


Jefferson Elementary...


Tuesday, February 3, 2015

5th Fall Memories Silhouettes

Being at two buildings, for me, means teaching a lesson/project anywhere from 4-10 times! 4-5 times if I only do a project with one grade, possibly 10 times if I do the project with multiple grades. This allows for a lot of adjustments from the first time I try a project in the rotation to the last. Sometimes I make huge adjustments. In this case it was a shift in materials that allowed for more choice for students and allowing students to work to their strengths. I can't wait to see how projects develop throughout the years considering how this one did in 3 classes...This project was inspired by this post via Pinterest.

I can statements:
I can create a fall silhouette that reflects my experiences and my knowledge of nature.
I can write an artist statement

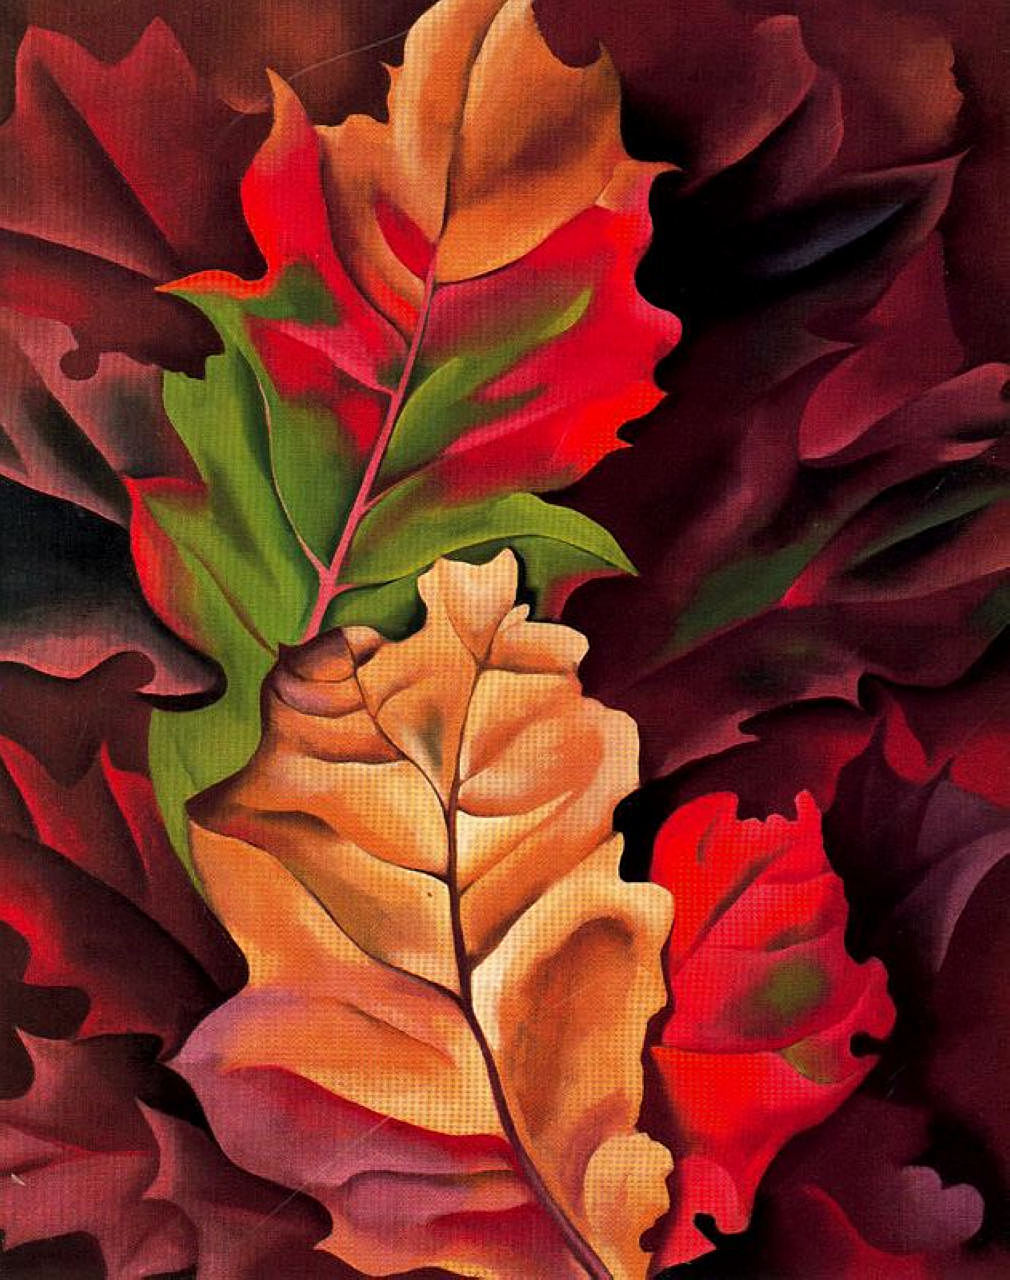
Day 1: Started the project off with exploring a few works of art with pretty famous names attached like Claude Monet, Thomas Cole, Van Gogh, O'Keeffe, Giuseppe Arcimboldo, Klimt, Kandinsky and a few others. They all had one thing in common, images or titles of Autumn in the work. Eventually the discussion led us to talking about color scheme and possible fall color schemes. When it was finally time to get their hands messy they got a piece of cardboard that came from a cereal box and red, orange, yellow, and brown paint. They basically painted it as if they were doing painted paper. Textures, blending, mixing, and experimentation were encouraged. If they didn't like the end result of one they had the opportunity to do a second.
O'Keefe's Autumn Leaves - Lake George N.Y.
Day 2: Started the second day off with looking at different silhouettes. First photographed silhouettes and then digital or drawn silhouettes. I asked them who/what the silhouettes were of how they knew they were right. Doing that really brought them to understanding of what a silhouette was as far as how to give minimal information but still enough that viewers know what they are looking at.


Finally they started planning out their project with this planning sheet and prompt:
"In each box sketch something different that makes you think of fall or autumn. Try to connect it with a memory for more meaningful art. Remember these will be silhouettes, you do not need inside details."
Day 3: Creating the silhouette is where the change happened. I started seeing the frustration in some students with cutting and getting the details they wanted so by the 3rd time (now at my other building) I decided to let them work to their strengths. They could use either paper OR paint to create their silhouette. The only issue was seeing painters get upset when things weren't going well and not being able to "correct it" or "fix it" due to the material choices they made.


Day 4: Many needed a second work time for more layers of paint or gluing pieces on but before they started I introduced to them writing an artist statement. Browsing around online I found this great definition and list of things to write about in two different places. Leave it to me not to remember and not being able to cite my sources....This was the first time I had students write an artist statement but I knew I would be doing more in the future so I wanted to put together a generic sheet that I could use with multiple grades on multiple projects. There is a good amount of lined room under the prompt for the rough draft....


Day 5: One more day was needed to type artist statements and for a few to get caught up!

McDill Elementary...


Jefferson Elementary...


P.S. Projects like this are how I protest winter!

Tuesday, January 27, 2015

Radial Symmetry Junk & Snowflakes

Now that I have repeated a few projects since I have started teaching it is easy to see what goes right and what goes wrong. While my 4th graders last year loved this project, I felt like the concept of radial symmetry didn't really stick so I wanted to do things differently the second time around. Here is what I originally pinned on Pinterest and here is my original post of this project.


I can statement: I can use radial symmetry when printing a snowflake with found objects.

Day 1: We started off with a discussion about radial symmetry and where it is found. We explored the below PDF and talked about some being real radial symmetry and others not, as well as, from nature vs mathematically exact radial symmetry..they also shared other examples they knew of personally...


After our discussion I introduced them to my giant bucket of junk and how we were going to make temporary radial symmetry art with this junk before printing snowflakes with different junk next class. They had a freakin' blast! Lots of questions about where my junk came from/why I had so much and I told them that most art teachers are magnets for junk. These are just a glimpse at the awesomeness of it all...


I truly believe it was this group activity that made them so much more successful this year than the previous and really ingrained in them what radial symmetry is and looks like up close and personal.

Day 2: Before I demoed printing and they got started, we had a little review of radial symmetry and I showed them these images from Russian Photographer Alexey Kljatov.


These photographs are an amazing insight into how insanely complicated and beautiful snowflakes are and I wanted it to inspire them to work a little more outside the box. After they finished one snowflake, they chose glitter to go over the wet paint. Some of them were so into it they did 3 or more snowflakes :) Check out these beauties hung with the ever-adorable snowman Kinderbeaners made that I'll share later...

McDill Elementary...


Jefferson Elementary...