


Another project in my big Art History unit with my students is finally all displayed and ready to be shared! The two above were chosen for Youth Art Month at the Portage County Library! I found this project via pinterest (which is the worst kind of pinterest post). JUST an image. However, this image was actually pretty useful for understanding the project.
Day 1: Picasso intro! Short and sweet powerpoint with a YouTube video of Picasso in action. I did stop it a minute early because he paints a naked lady (and I wasn't ready to tackle that). They really seemed to enjoy this short clip, makes the artist a lot more real to them. If only we had video of Van Gogh!
After the video we played "Roll a Picasso" here is a version on Teachers Pay Teachers but I made my own to add a view more parts to it. My students absolutely loved this. They did it for 30 minutes without getting bored! I told them there was no mistakes, they didn't need to erase, and they would take them with them when they left. If they got sick of drawing they could switch to coloring them. I really wish I would of taken some pictures. There was really great ones!
Day 2: I show them a little poster that I put together reminding them of some things about Picasso and showing some of his other works. Then I demo drawing the different features on the paper scraps using oil pastels and finishing with a black crayon. I saw such a higher level of confidence of this project and I think it was because of the Roll a Picasso. They had come in knowing what their strengths were with what features, and I didn't limit them to the ones on the sheet either. If there was a way they wanted to draw a feature or knew how, they did it.
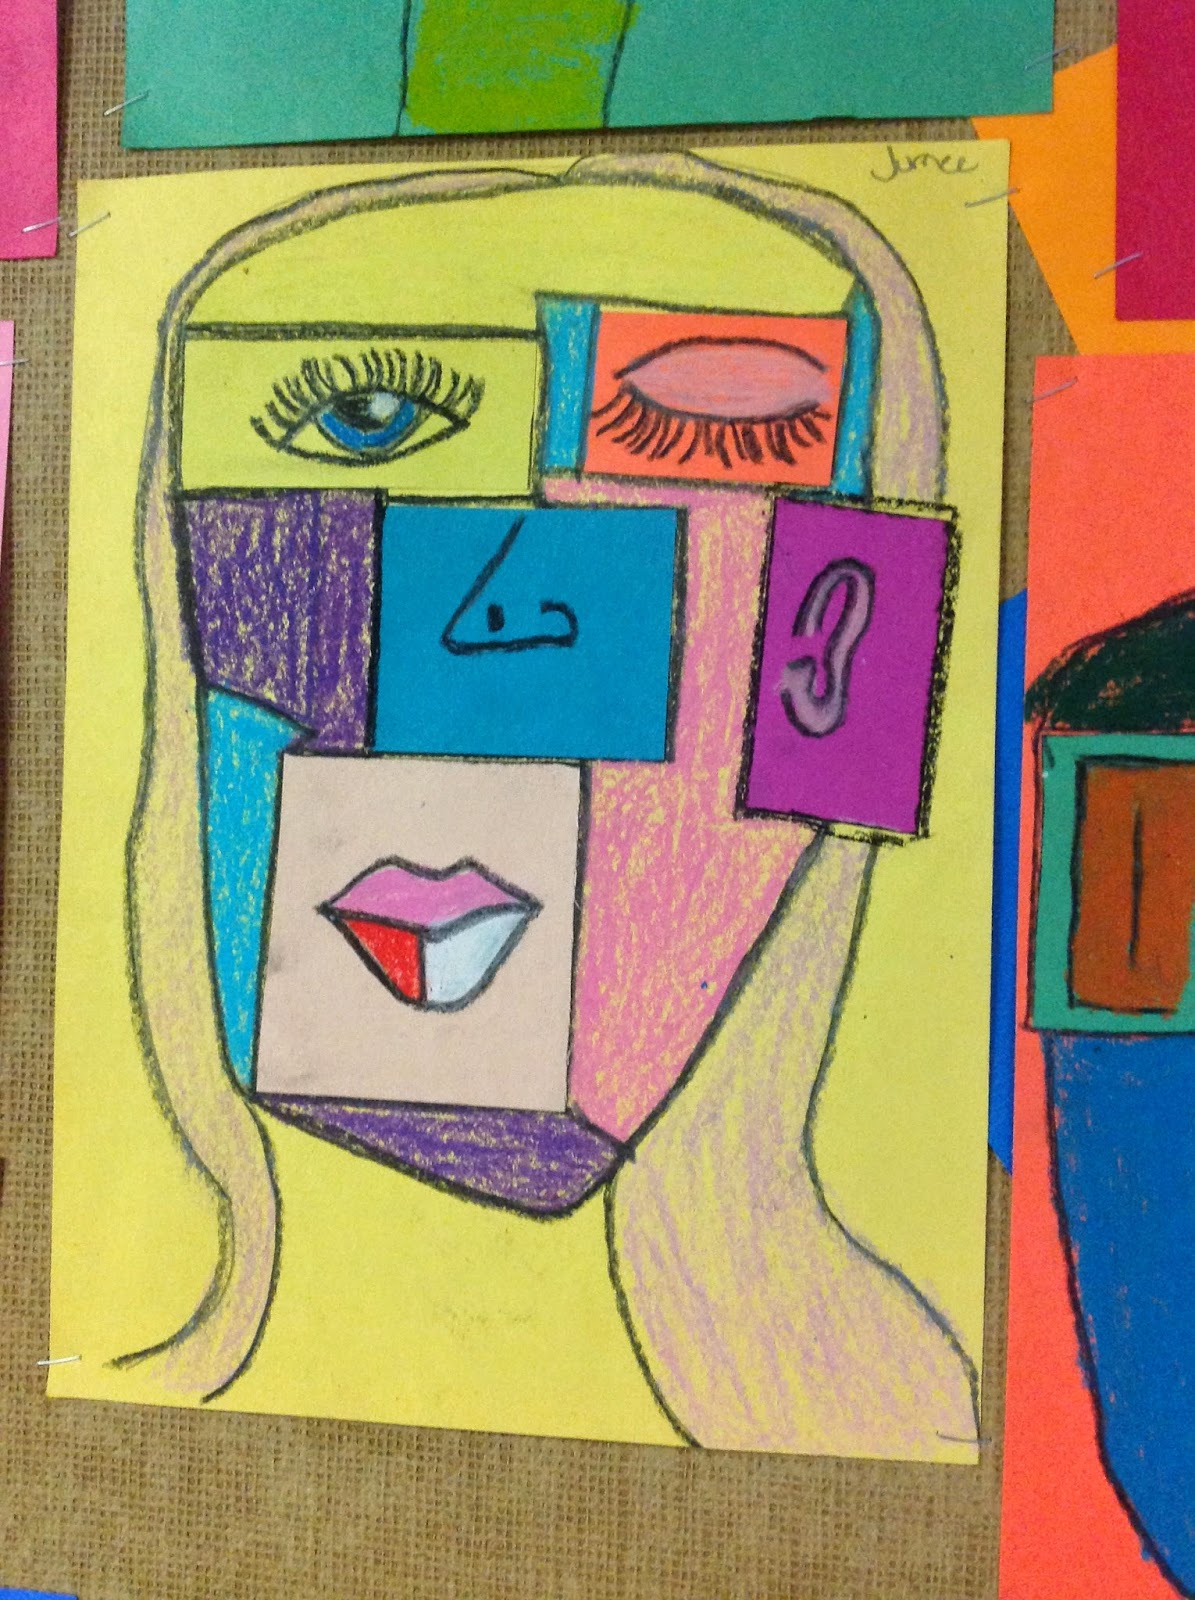
Day 3: Showed the poster once again just to remind them of Picasso (seeing as we only see each other once every six school days)! And started with a short demo of creating the head shape and coloring and assembling it. Started with drawing the head, arranging the pieces, traced them, took them off and colored the sections of the face with oil pastels. If it didn't naturally break into sections they did it where they thought best. Last step was glue sticking them on and tracing the added paper and lines in black crayon.
I am so excited to share these with you, I just LOVE how these turned out!
McDill Elementary...


Thank you for posting your process. I work with adults with disabilities, and I'm currently doing "funky faces" on colored and regular cardboard using painted papers. We're having a blast, but I'm trying to figure out the best way to explain the process to many of my folks.
ReplyDeleteMaybe approach it like a puzzle? Creating each piece to put together as a whole face?
DeleteThis comment has been removed by the author.
ReplyDeleteThis comment has been removed by the author.
ReplyDeleteDo you have your copy of Roll-a-Picasso on TPT?
ReplyDeleteDid you use colored or plain white paper for the features that are glued on?
ReplyDeleteWhat kind of paper did you use for this project? Thanks!
ReplyDeletei don't know
Delete