Pages

Showing posts with label 1st Grade. Show all posts

Monday, October 23, 2017

Royal Self-Portraits with 1st Grade

This is the 2nd time I've done this project with my Firsts and it is just getting better. Check out the first time I did this project here.
Image result for paper bag princess book
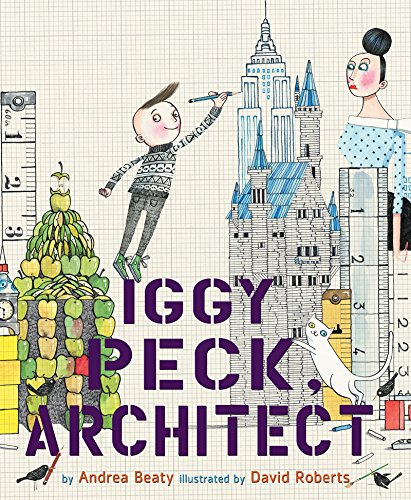
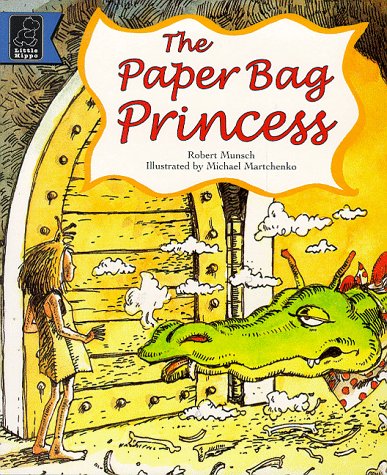
Each day I like to start with a book but wanted to stay away from classic Princess stories and read ones that had a little more empowering messages or were outside the box. The first day of we started with the book The Paper Bag Princess. Then with an awesome activity to kick off this lesson--I put a variety of pictures of royal people real and cartoon on the smartboard and paired off kiddos with dry erase boards. They had to work together to draw or write the details they saw that made the people look royal. I did this same activity last year and it really gets the idea generation going for them when they start to draw. After this activity, they watched my demo of drawing my royal portrait and got busy drawing and outlining in black sharpie.

Image result for princess justina albertina
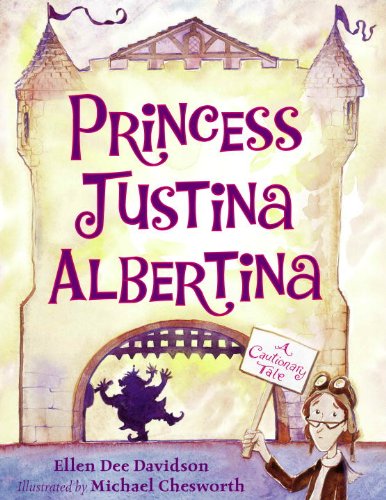
The second day we started with the book Princess Justina Albertina. A few had to finish outlining in sharpie and then they spent the rest of the time coloring in crayon.


Related image
The next day we started with the book Princess Smartypants and talked about creating different backgrounds that would work well with the rest of our artworks like colors connected to their clothing or dragons if they made a knight. They used tempera cakes to paint their backgrounds.


Image result for mousterpiece
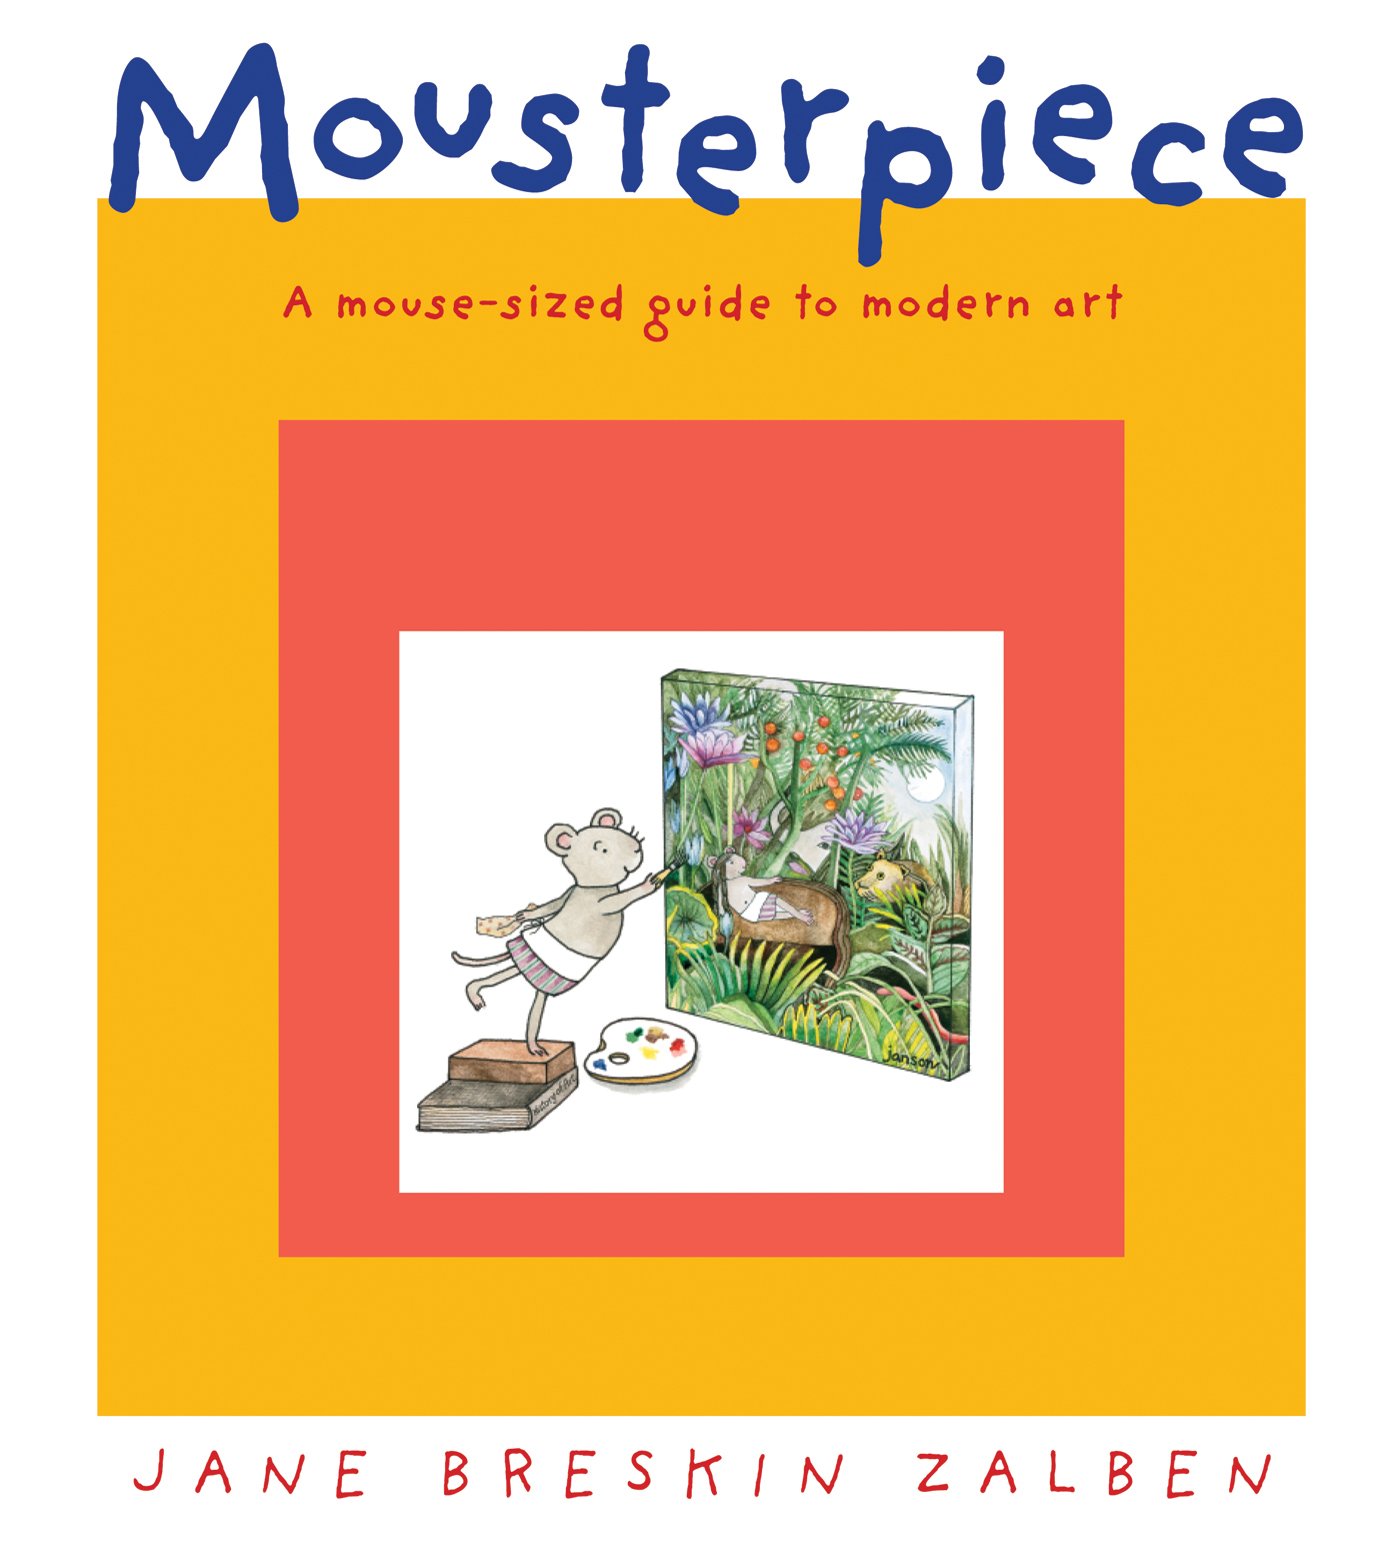
On the last day we wrapped up the project by doing their first critique. Whenever First through Fourth graders finish a project I have them do a gallery walk, hamburger critique, and fill out a rubric. I read them the book Mousterpiece as an introduction to talking about museums and art galleries and how we act when visiting them.
For our gallery walk we lay the artwork on the tables and walk around looking at everyone's work. I put up this slide and pop in one of their artworks for a little excitement.
Then I pick three kiddos to share their work. They can say anything they want to about it before we do the "Hamburger". Whoever is sharing their work gets to pick three different friends to say the three statements "I Like (something they like about their art), "Maybe you could have (something they would have done different), and another "I like (something they like about their art).
Rubrics for 1st are pretty basic and we do them together the first few times. When they finished rubrics, if they wanted to do glitter, I showed that small group how to draw with glue where they wanted glitter to be.


I am so in love with these! Until next time!


Monday, February 13, 2017

Winter Shape Architecture (2016)

Focusing on shapes while teaching architecture to K&1 seem to be a perfect fit. Around Christmas and during winter adds a whole other creative layer for students!
I Can identify the shapes in my artwork.
I Can tell you what an architect does.

Day 1: Intro to Architecture and Building
If you want a great story for introducing architecture read Iggy Peck, Architect by Andrea Beaty it is easy to understand and just the right amount of silly.
I started our lesson with that story and then had them watch this StoryBots video to reinforce.
We talked about all the different kinds of buildings they saw in the book and video and afterwards I had them think-pair-share about what they were going to build using shapes. We did this before they saw my example and my demo video so they wouldn't be set on building a house like mine. 
Because identifying and not creating the shapes was the goal of the lesson I provided cardboard tracers of the basic shapes in all different sizes. If they wanted to draw shapes other than those basic ones they were encouraged to do so. They used glue sponges to assemble their buildings.
Day 2: Shape Graphing and Details.
To put the focus back on the shapes, we started this second day with the book Shape Shift by Joyce Hesselberth.
Then using my artwork as an example, together we graphed out on a basic bar graph, the shapes I used to build with.
They were then asked to do the same with their artwork. We did this before adding details with construction paper crayons to avoid the confusion of graphing any shapes they might draw. They could have included those shapes when graphing, but I wanted to keep it consistent and make sure I knew what they were looking at when I graded.
After they finished graphing we met back on the carpet and they watched my demo of adding details with construction paper crayons and brainstormed all the different details they could add. It was close to Christmas when we worked on these so there was a lot of Christmas related ideas. Pokemon is the big thing right now so that inspired a lot of kiddos too. Some decided on a combo of both!
Day 3: Snow and Architecture Centers.
To wrap up this lesson and unit we started with the book Snow by Uri Shulevitz. It has great pictures of a city (architecture!) during a snowfall which was perfect segway into the snow part of the project.
They watched my demo video of adding snow with a small paintbrush and Q-tips and were sent to explore the different architecture centers I had set up for them. Many were building toys like blocks, legos, straws and connectors, and also coloring sheets of different types of buildings. While they were exploring the centers I called them back in small groups to add snow if they wanted to add it. They did not have to.

Just LOVE this lesson and how they put all their awesome individual ideas into them. They are now on display at our district office because I loved them so much :)
                        

Sunday, February 5, 2017

Color Mixing Cookies

 Back in December I posted about how I was incorporating more play into my art room especially with K and 1 students, you can read it here.  This lesson with K&1 was another where I loaded on the play. So much so, my students thought I was crazy.
I Can mix primary colors to get secondary colors.
I Can identify primary colors.

Day 1: Baking Cookies
If you aren't ready to make a fool out of yourself then you might not be ready for this. Let me set the stage...Before my students came in, I took flour I brought from home and put smudges of it all over me. As they walked in the room, I had a picture of a kitchen on the SMART board and had an empty mixing bowl that I was stirring with a spatula. Behind me "in my kitchen", a toy oven borrowed from a Kindergarten room. We didn't start with our regular routine as I was too busy mixing my cookies. They thought I was bonkers but the laugher and excitement was contagious.

Once the initial shock was over and they settled, I asked each student to go their table spot with a real rolling pin (that we use for clay) and wait for me to bring them dough. This dough was totally imaginary that I plopped in front of them out of my big mixing bowl. As they were rolling out the imaginary dough, I quickly had their dough "appear" by putting a piece of heavy weight manilla tag at their spot as if the dough became visible when rolled flat.
At this time I fessed up that we were pretending and they came up to the carpet to watch my demo of tracing cookie cutters and cutting them out. Cookie cutters can be a bit tough to trace so I put emphasis on the idea that cookies in real life don't turn out perfect either. This alleviated some of the pressure. And, I told them they didn't need to use the cookie cutters at all if they didn't want to. They were asked to make 4 cookies to make sure they were able to do all the "frosting" next art time. They also watched my demo of decorating a plate and gluing my cookies on it. I showed them some festive plates for inspiration but encouraged them to decorate however they wanted.
When they were done tracing and cutting their cookies out they had an opportunity, if they wanted it, to "bake" their cookies in our play oven on pans I created out of cardboard and tinfoil. I really played into it by making sure they wore my oven mitts from home when taking the pans out because they were "hot". Yes, there were some students who did not want to use the oven but I would say 95% percent did and loved it.
 In my 8 total classes of K& 1 not one section asked to do free art this day.

Day 2: Frosting with Primary Colors
We kicked off the day by reading the beautiful story, Cookies: Bite-Size Life Lessons written by Amy Krouse Rosenthal.

Then we got to talking about the color wheel and primary colors and I used these two videos to help out the lesson. The favorite OK GO's Sesame Street primary colors song...
And this claymation (with the sound turned down-not great music) to predict the mixing...
When it was time to paint, to help with the success of the color mixing I printed 24 of the document below in color and had them laminated. Students did their color mixing right on these papers, I did one mix at a time going around the room squeezing out the colors onto their papers. They were asked to use each of their new colors on their cookies and to experiment with the paint for whatever cookies they had left. When they finished they gave the sheets a "shower" (under the running water) in the sink--not a "bath" (submerged) or the sheets don't last as long. The sheets made it through all 8 classes. You would have to reprint and laminate each year but its worth it, they really worked.


Now we did this project/lesson as if they were Christmas cookies but there is no reason you couldn't do it for any other time of year and just switch cookie cutters or do without the cutters. Valentine's Day would be fun!

Monday, January 9, 2017

Royal Self-Portraits with 1st Grade


 I usually do the same projects for K&1 but for the start of the year I like to do the Ain't Gonna Paint project with my kinders. So, while kindergarten was painting all over themselves, first grade became royal!
I can use details in my self-portrait that make me look royal.
I can paint an organized background.

Day 1: Look and Draw
Read a really fun book called "The Knight Who Was Afraid of the Dark" and did a really fun activity to kick off this lesson--I put a variety of pictures of royal people real and cartoon on the smartboard and paired off kiddos with dry erase boards. They had to work together to draw or write the details they saw that made the people look royal. Then together, we combined our ideas into a big list. After this activity, they watched my demo of drawing my royal portrait and got busy drawing. I had a big stack of books from the library for visual reference for them to use as well.
Day 2: Outline and Color
The next day they spent outlining and coloring but we started with a story out of the book
"A Princess, A Pirate, And One Wild Brother". It has three stories in it, we just read the princess one. When it was work time, there was a little roadblock --I asked them to outline in the color they were going to be coloring things in with--not many were able to do that, or forgot, or just didn't focus enough to accomplish that. Thinking about it now, it wasn't that important to color match, so we will probably just go all black sharpie the next time I do this lesson, especially with painting later on (if they were not super controlled with their paint their water soluble marker lines blurred or smeared).We colored with crayons and I really pushed kids to improve coloring skills.
Day 3: Painting sparkles and metal
We started with a rather interesting TumbleBook--"Princess Justina Albertina"--it's worth the read/watch. After their coloring was finished I put out metallic and sparkle paint in all different colors for them to add details with to their self-portrait. Sparkles and shiny paint are REALLY exciting to first graders so we had a bit of chat about what would actually sparkle or shine in real life. Also chatted about being in control of our choices and really thinking about what we were doing before we did it. Impulse control baby! I only had a few kiddos go really REALLY overboard with the sparkles but there was also behavior issues involved there.
Day 4: Background painting.
Started with another digital story about a King--"The Kiss That Missed" done by Storyline Online.
Then it was time to paint, tempera cakes are one of my favorite materials for background painting. They don't wrecked/ruined easily and they produce really beautiful colors--so just about everything looks good! We talked about making choices in the background that make our background look on purpose and organized.
Another plus of tempera cakes is they dry fast so when they were done painting, I did the unthinkable--GLITTER. They used a glue bottle to draw where they wanted glitter then brought it over to me at the glitter station where we sprinkled glitter and put it on the drying rack.

This might have to be a repeat in the future with just a few changes. Also, there are some great Tumble Books available and books from Storyline Online that you could use for lessons and give your voice a break. Check out all the ones they have!

Tuesday, August 16, 2016

Shooting Line Rocket Ships (15'-16')

This project (inspired by Art with Mr. E's) is officially one of my new favorites for K&1. It was a great review for lines and a super fun exploration of materials!

I Can identify different types of lines.
I Can explore many different materials.

Day 1: Reviewing lines. Line paintings.
Lines are one of the first things we visit in the year so I love doing a refresher project on them at the end of the year. To kick this project off I drew a picture on the SMART Board that contained all the lines they learned previously and they took turns coming up and finding them. Then we did some whole body fun by having groups of students make the different types of lines with their bodies! Just an observation: my classes that were most behaviorally challenging ended up doing the best with this activity.
Dashed and Zig-Zag
Castle and Thick Line
After these activities they went to their seats and drew each type of line with a sharpie. Then they got to explore their first new material--metallic watercolors. Not really a "new" material as far as watercolors go but still VERY exciting for them to see sparkles and shine! I really encouraged them to have their colors touch but it was a little hard of a concept because many just tried to follow the line and not make the bands of color. I also had a glitter tempera paint station set up for them to add MORE sparkles if they wanted. Obviously they wanted it.


Day 2: Building Rocket Ships. Assessment.
Tracers. I always go back and forth on using them or not. But, an old principle (and art department head) once told me that as long as the learning goal isn't creating that specific shape they are ok. So, that's what I did. Each part of the rocket ship had a tracer: the main body, the wings, and the booster. After they watched my demo video on using the tracers and gluing the pieces together I let them run wild with a huge variety of papers with different textures and patterns. This was our second material that they explored.


Because the process of building the rockets was very independent, I used this time to pull students over to me for a verbal assessment to identify the different types of line. I had the lines drawn on a piece of paper and they went through and named as many as possible. Each student took about 30 seconds or less which made a very quick and easy assessment. The one little bump was a student would come over to ask me something while I was assessing another and they would spit out the answer before the kiddo getting assessed could answer.


Day 3: Adding the rocket streams and backgrounds.
 We started the day talking about creating the rocket stream out of their line paintings. Again they watched my demo video and brainstormed the different shapes the stream could be and how it was okay if we cut some of our lines off. Then they added their rocketship to black paper and added some amazing details with our last material exploration -- metallic markers. I pre-punched stars on metallic paper that they could add as well and more tempera glitter paint. One last option for them was adding an astronaut. Again, I provided a tracer. The success rate overall on this project was so high and each was its own beautiful individual work of art with so much personality showing through.


Below are detail pictures...I was so blown away by some of these kiddos!!!!