Pages
▼
Tuesday, July 22, 2014
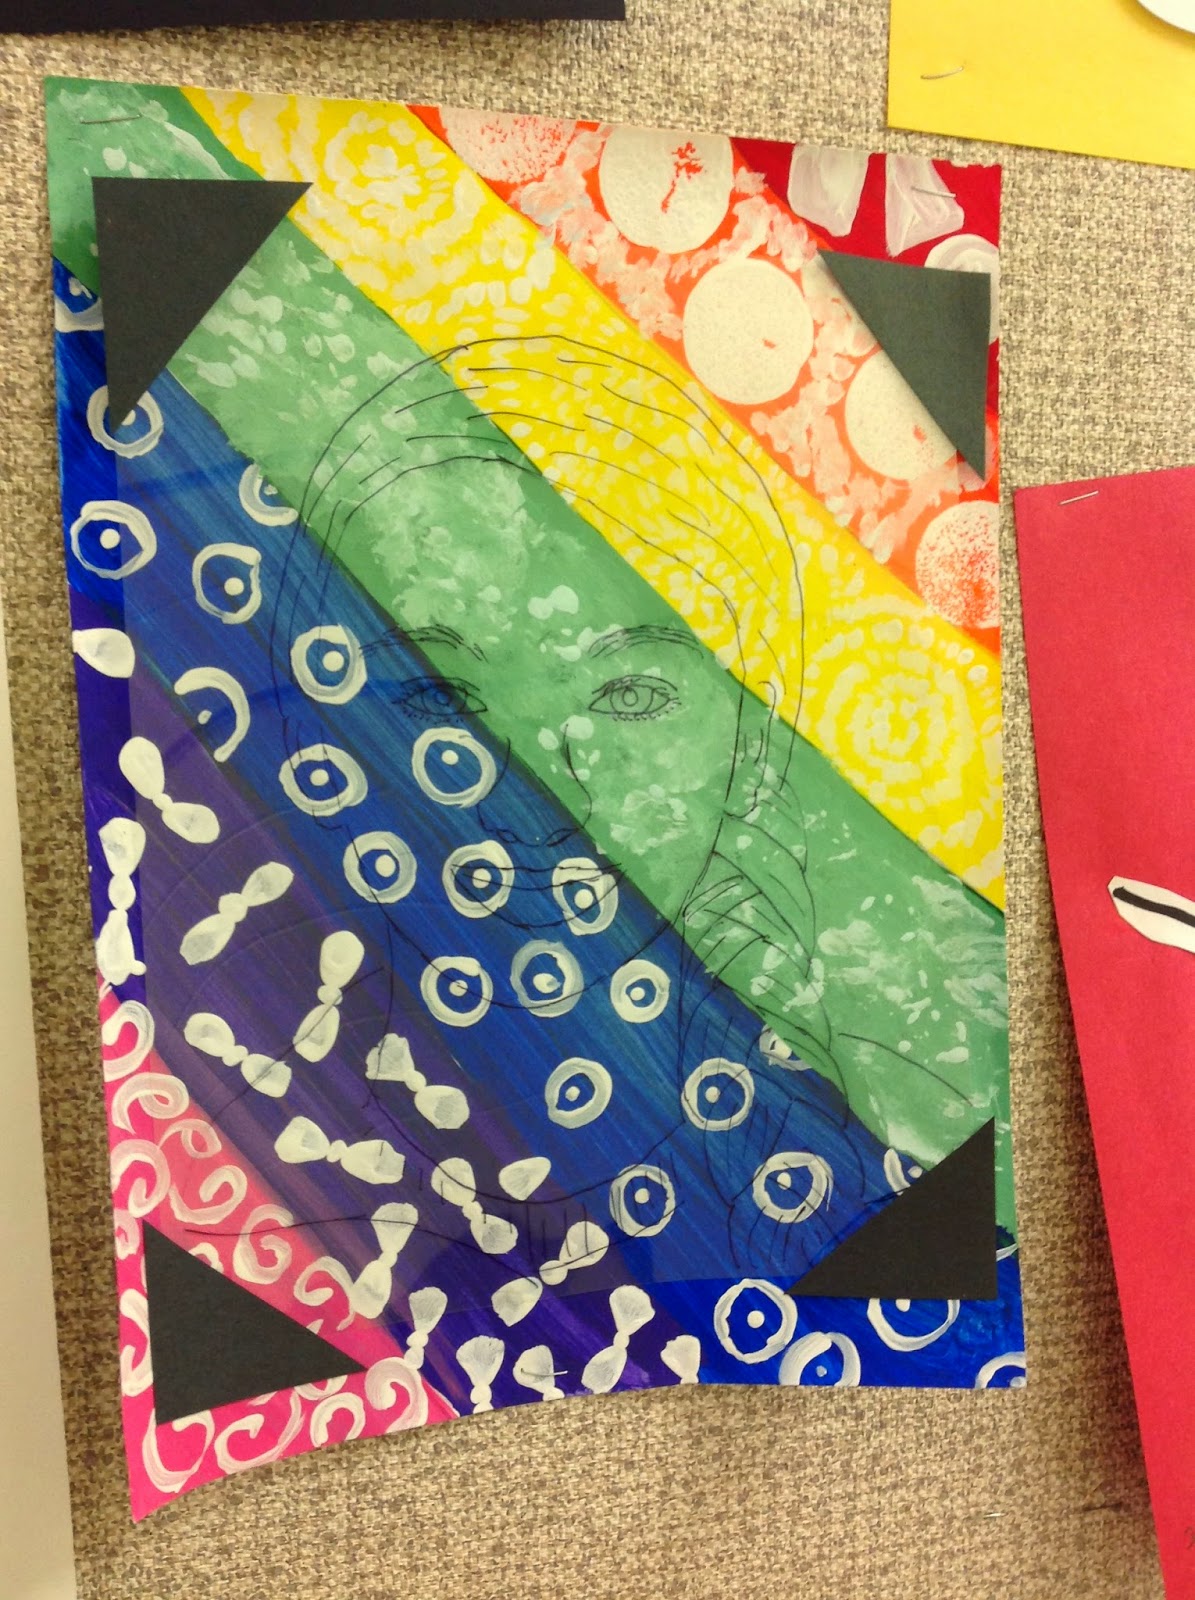
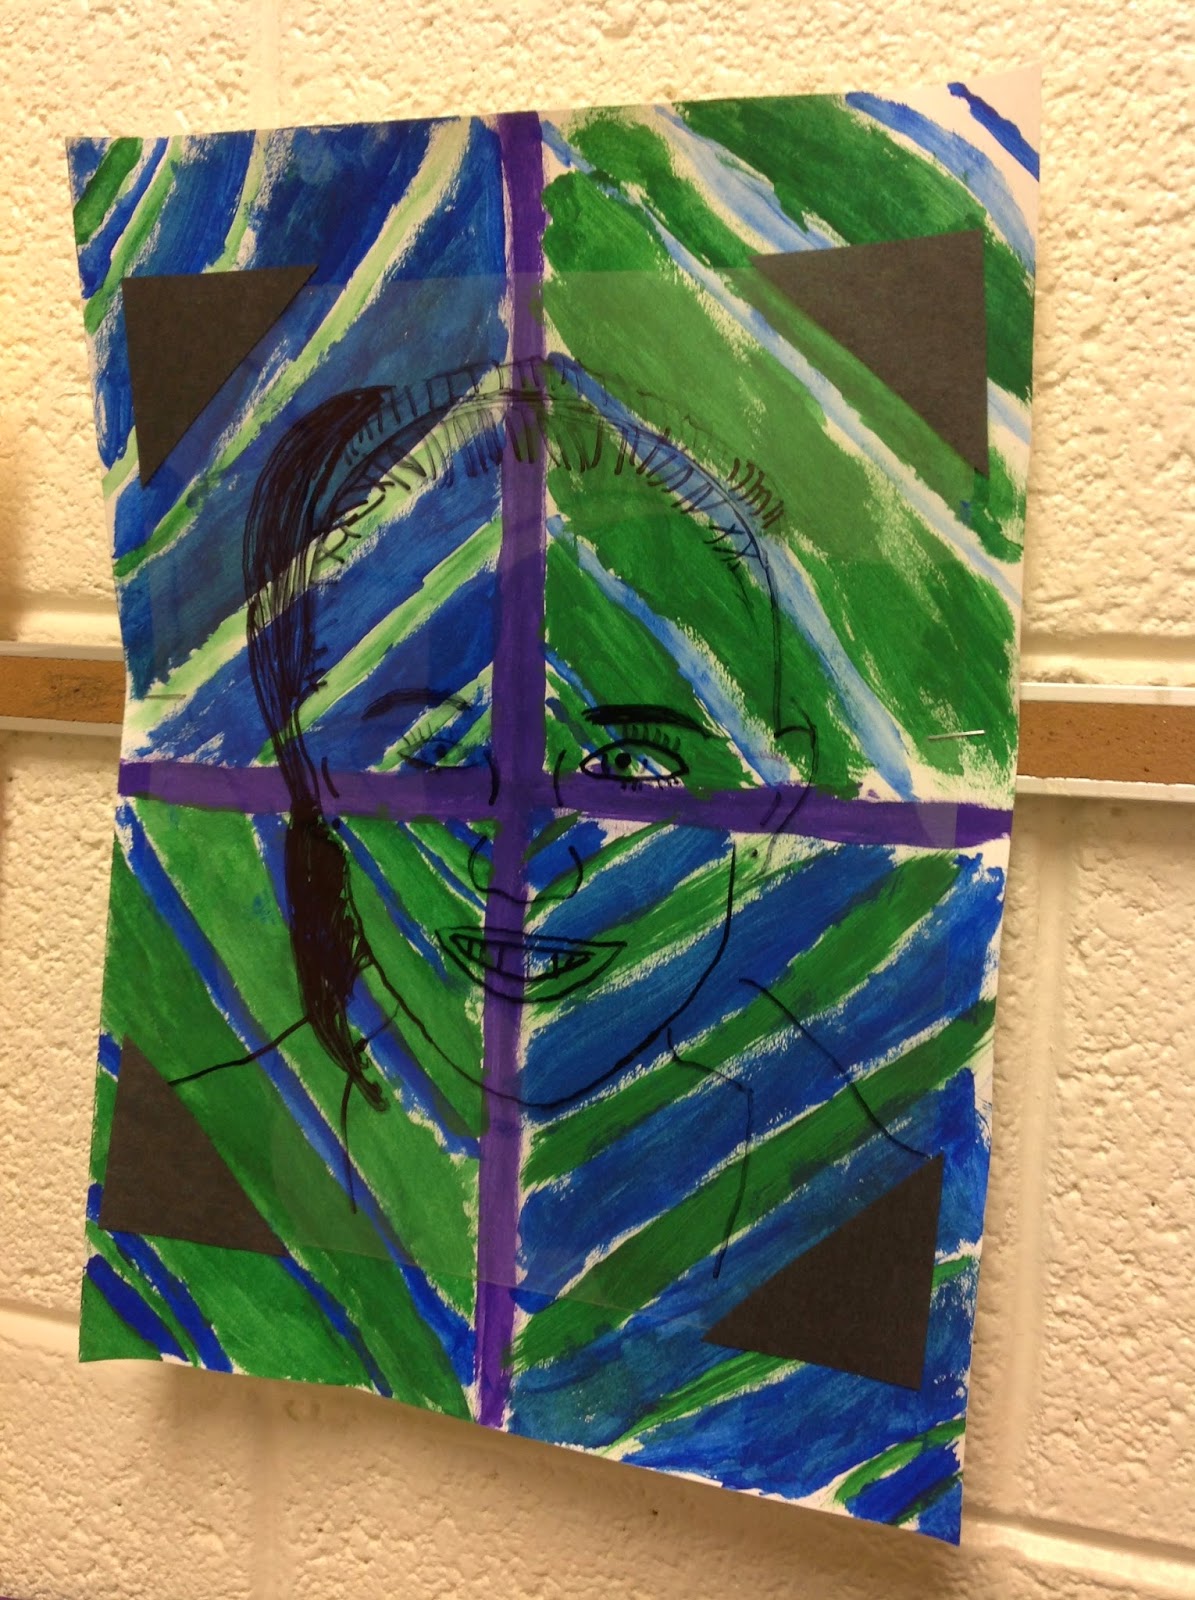
Abstract Transparency Portraits with 6th Grade
Being a relatively new teacher I tend to question myself a lot. A LOT. Having a very loose curriculum that is older than I am also does not help with this. Usually, I am questioning if the project is too easy or too hard for a grade level. This was one of those projects that I ran into that question.
I originally saw a project like this on Pinterest here and at NAEA from Blick (I think!) and loved the possibility of where I could take this with older students. As we got closer to the end of the school year I was thinking about my 6th graders and the journey they were going to embark on the next few years of self-discovery and how difficult it was going to be for so many. Because of this, I wanted to do a portrait project for our school wide portrait theme that would give them a great level of success and pride. I absolutely loved how these turned out, almost every student was successful. Eventually I realized, while making my example, this project would be too "easy" for many. However, in this circumstance, how they felt about themselves with this project outweighed the idea of easy or difficult.
All in all, so much personality went into these, from the photograph they traced, to the abstract painting they created behind their portrait.
I CAN statement for this project: I CAN create an original ABSTRACT painting to be the background of my self-portrait.
Day 1: As students walked in I had them grab a piece of scrap paper and a pencil and had a PowerPoint open with a piece of art displayed. I flipped back and forth through 10 or so pieces of abstract art and had them write three "dollar" words (Words that are worth something!) about the works they were looking at. Then I paired them up and had them share what they wrote with someone while I flipped back through the slides. Finally, whoever they shared with had to tell me what their partner said. Then I talked about Abstract Art, gave a little history, and showed them the project. For the last part of class they got a planning sheet and had to decide what materials (tempera/watercolor/sharpie details/etc.) and color schemes they were going to use. Some moved on to start pencil work for their paintings. During planning we took pictures to be traced for the portrait.
Day 2: First, a quick Abstract review then, after a quick conference with me on their choices then they got to work painting. I really wanted them to experiment with different brushes and mixing materials, some loved this opportunity to go for it and even did multiple backgrounds to choose from. I loved that some students weren't afraid to ask to do and try so many different things!
Day 3: Finishing painting and starting portraits. I started class with a quick demo. I found a face in a magazine and we talked about contour lines and what to trace and not trace as well as different techniques for hair and clothing. Something I didn't predict was the amazement over transparencies! When I was in school transparencies just started to filter out, so I shouldn't of been surprised that a lot did not know what they were... I only let them have one transparency so mistakes had to be corrected with alcohol swabs. Which also blew their minds that it removed sharpie.
Finishing up: When both the painting and transparency were finished and dry they trimmed the transparency to remove extra space and attached it to the painting with double stick tape and a finishing touch of black paper "photo corners" to ground the portrait.
Was very happy that some were finished just in time for the Spring Art Show!
These were in the Children's Museum in town for an Art Walk!
These hung in the halls with the rest of the all school portrait displays!
Some of my girls even did their own extension using the transparencies and drawing books!
So maybe it was too easy.....But I think I made the right choice for my students. And for some who may never take another art class in their life, at least they ended their art journey on a great note!


This is such an insightful post on abstract painting
ReplyDelete! They truly add creativity, depth, and a modern vibe to any room. If you’re looking to elevate your décor, Vibecrafts has a stunning collection of abstract paintings that perfectly blend colors, patterns, and emotions — making them a great fit for contemporary homes.